

Step 1: Generate and Copy Your Robylon Chatbot Embed Code.
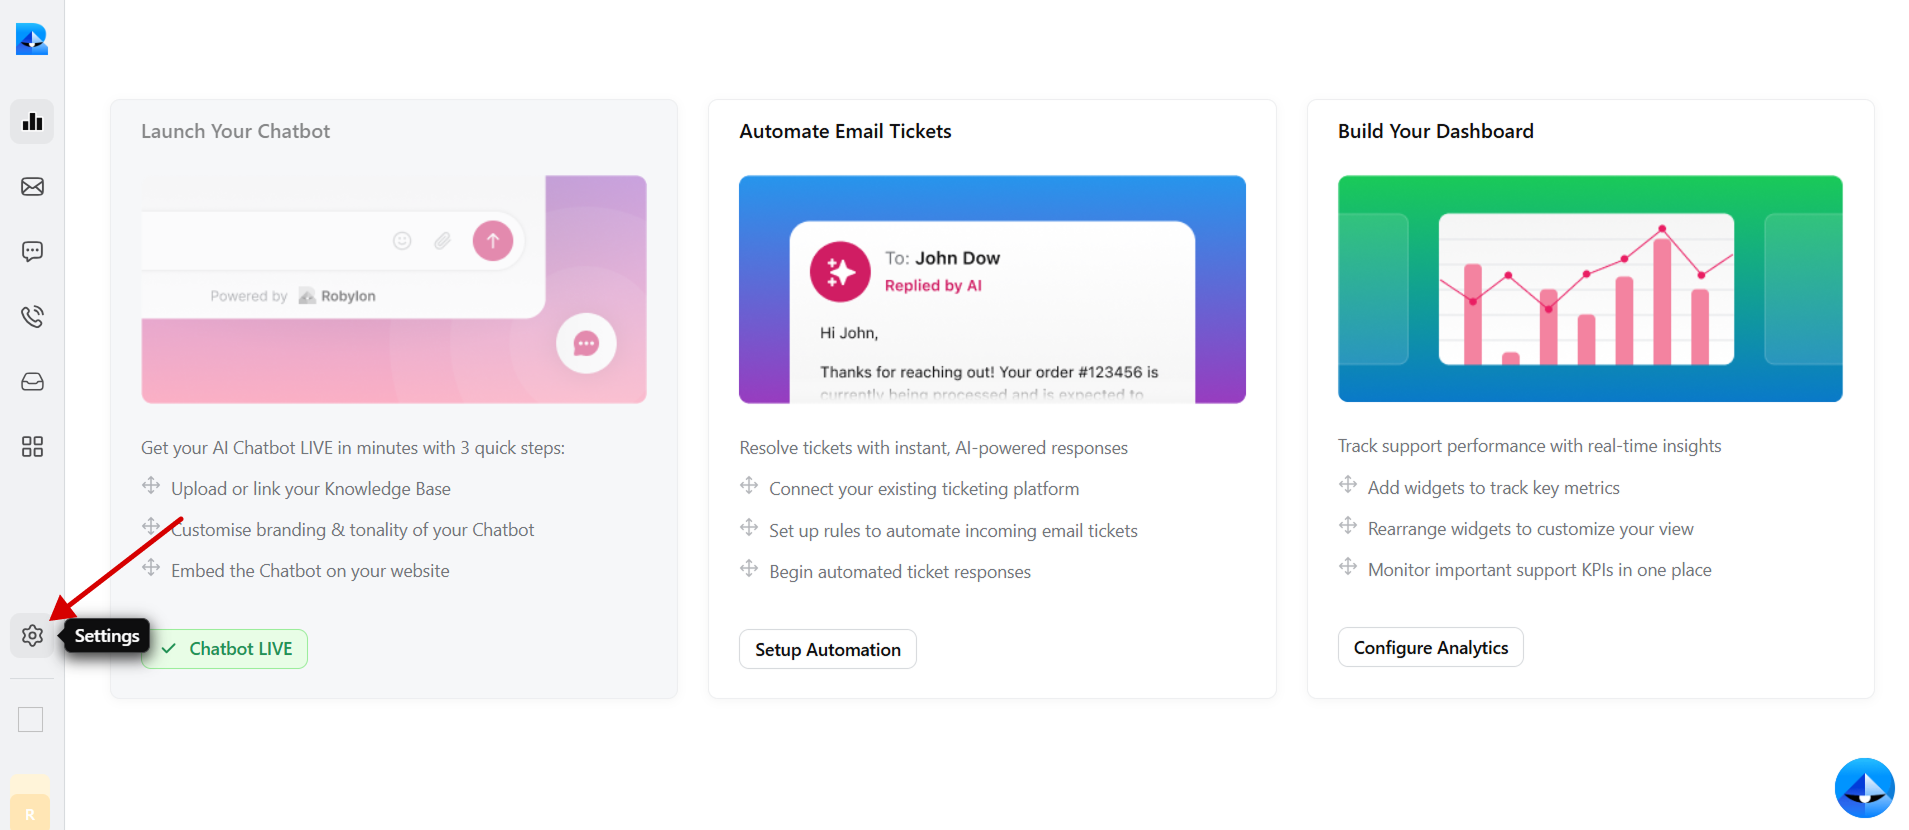
- Log in to your Robylon account and open the dashboard.
-
In the left panel, click on the settings button to navigate to the settings page.
-
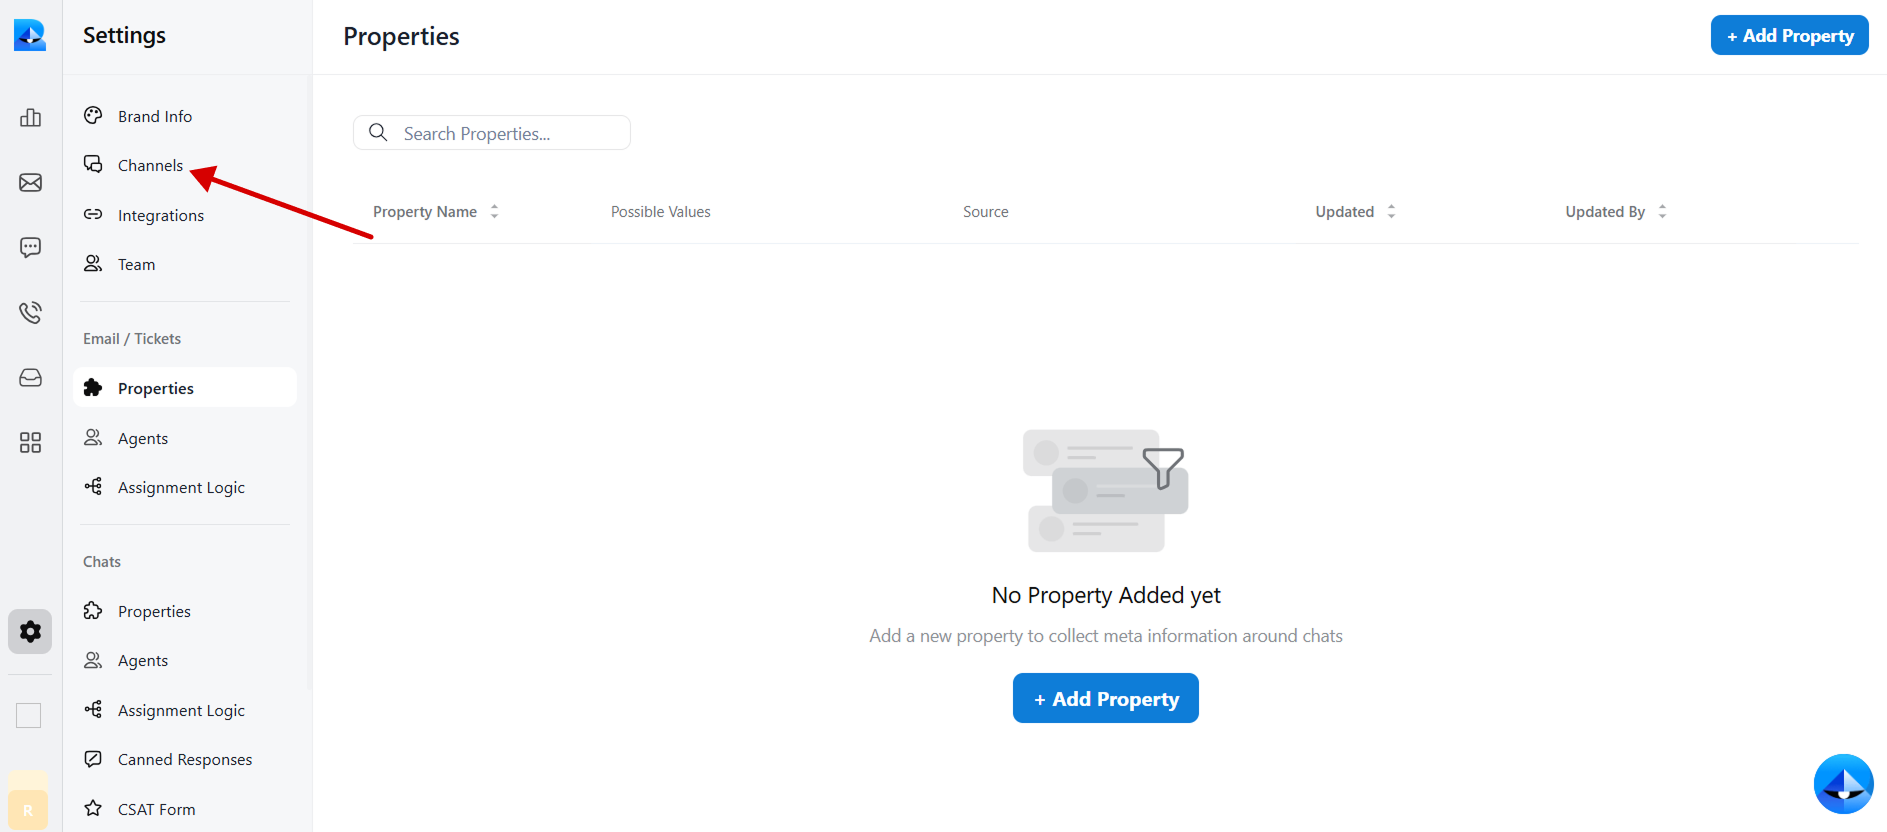
Within the settings tab, select Channels.
-
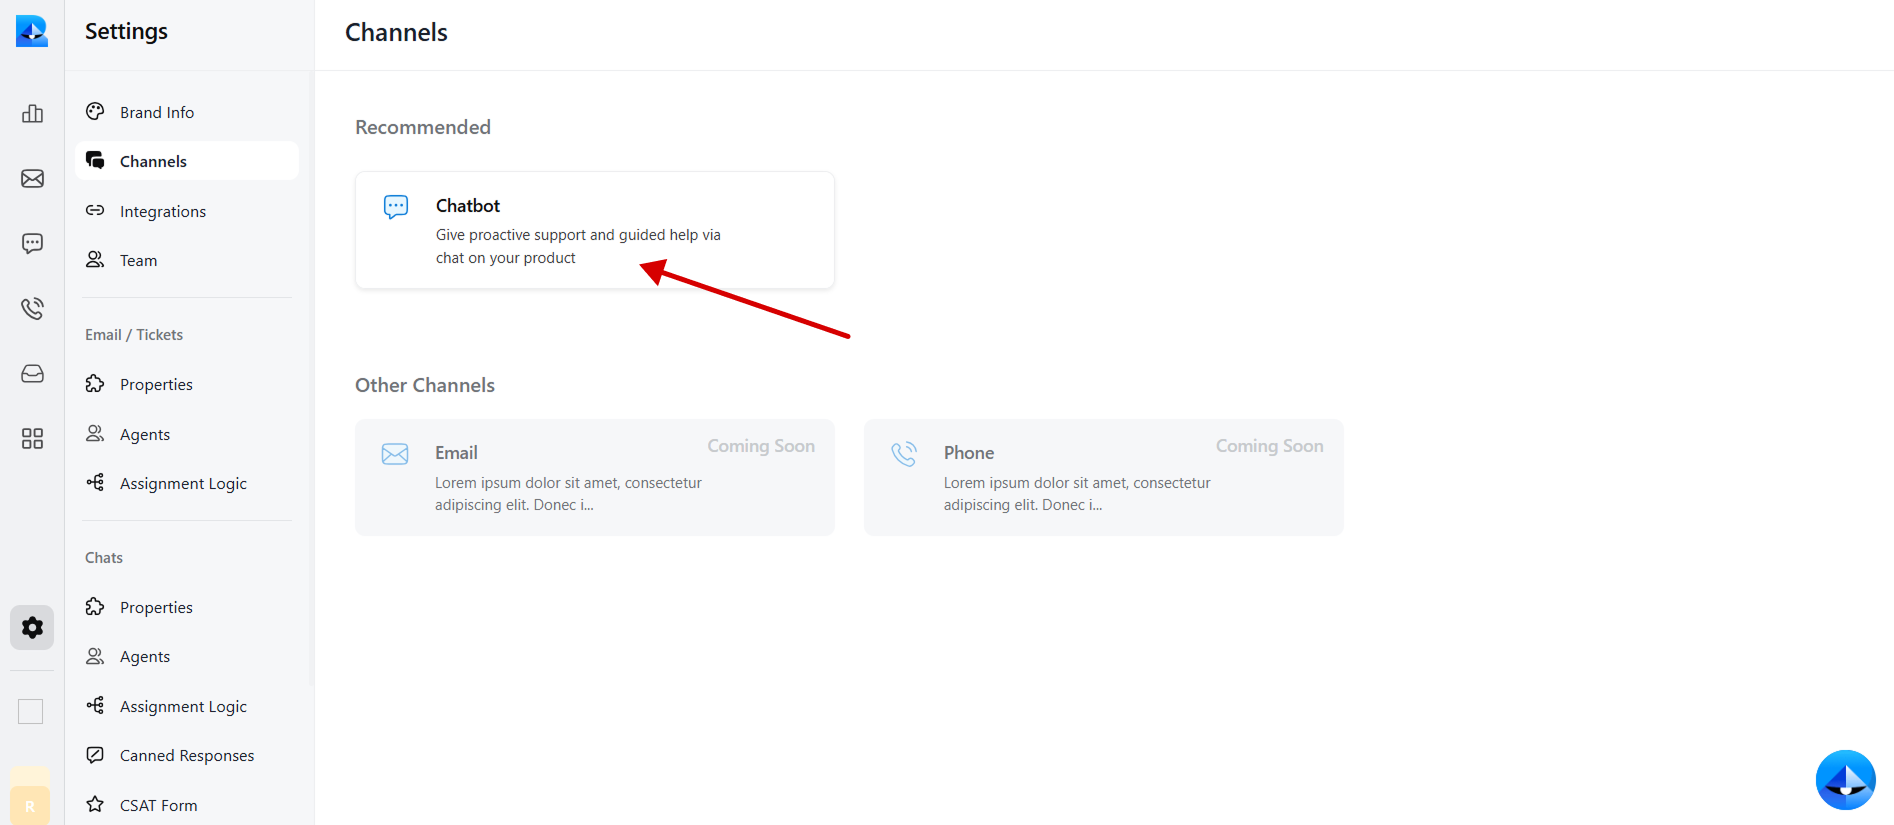
Click on the Chatbot widget to access the chatbot details.
-
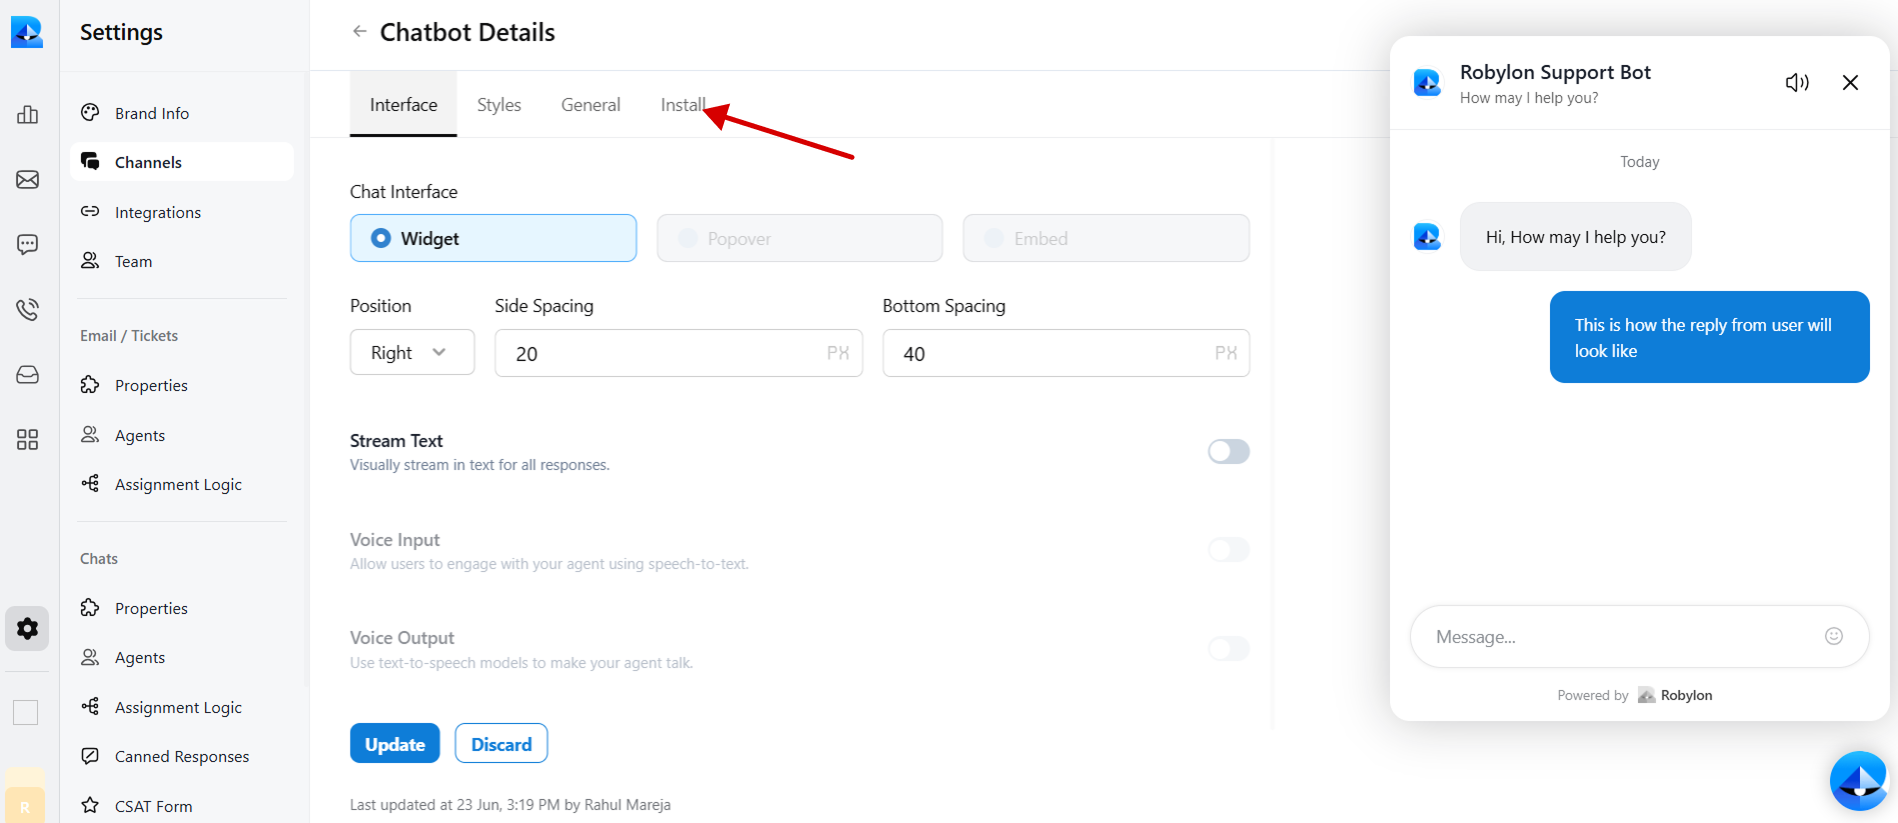
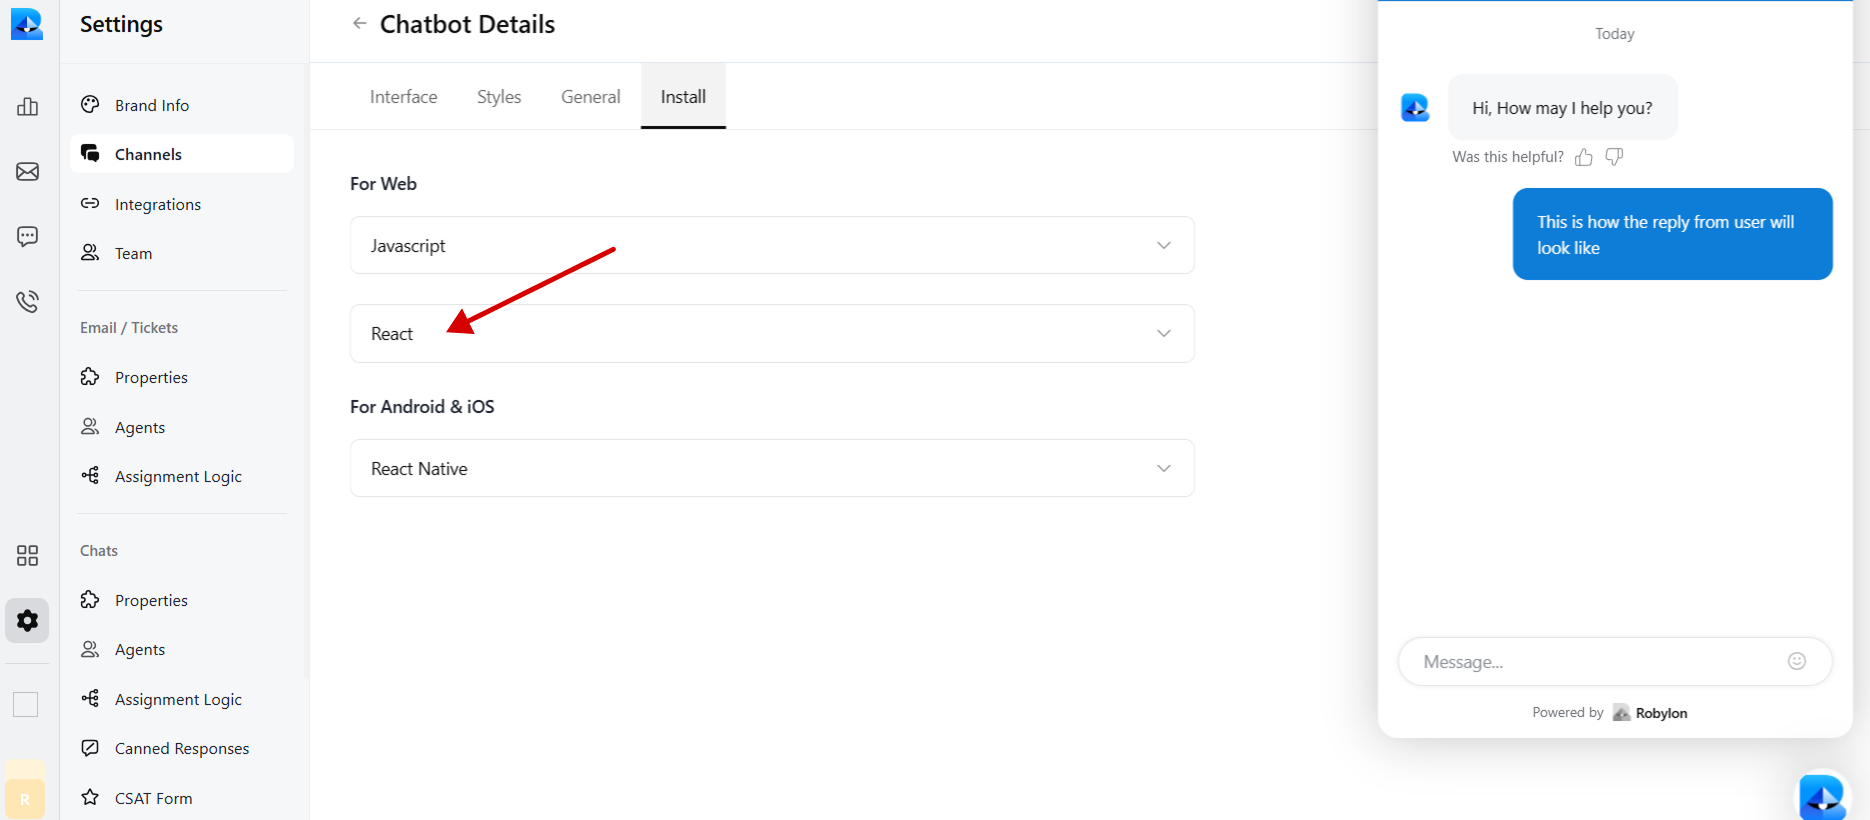
Navigate to the Install tab within the chatbot details page.
-
Select React to embed code in Framer.
-
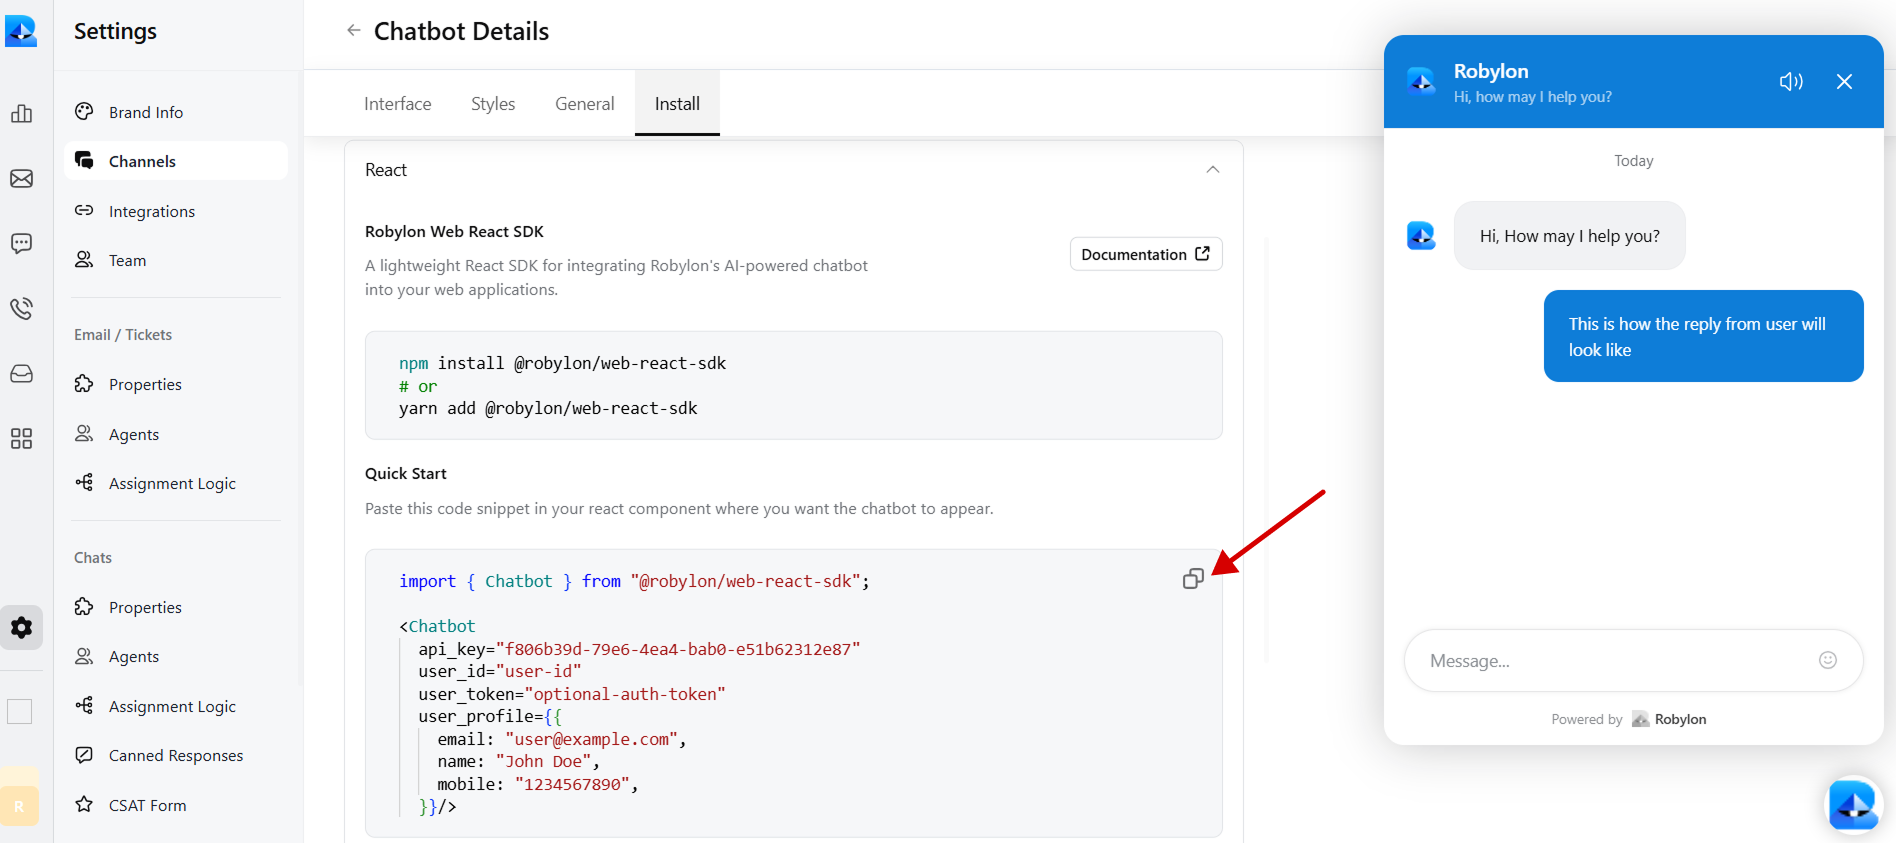
Copy the provided chatbot embed code.
Step 2: Embed the code in Framer to Display Your Chatbot Widget
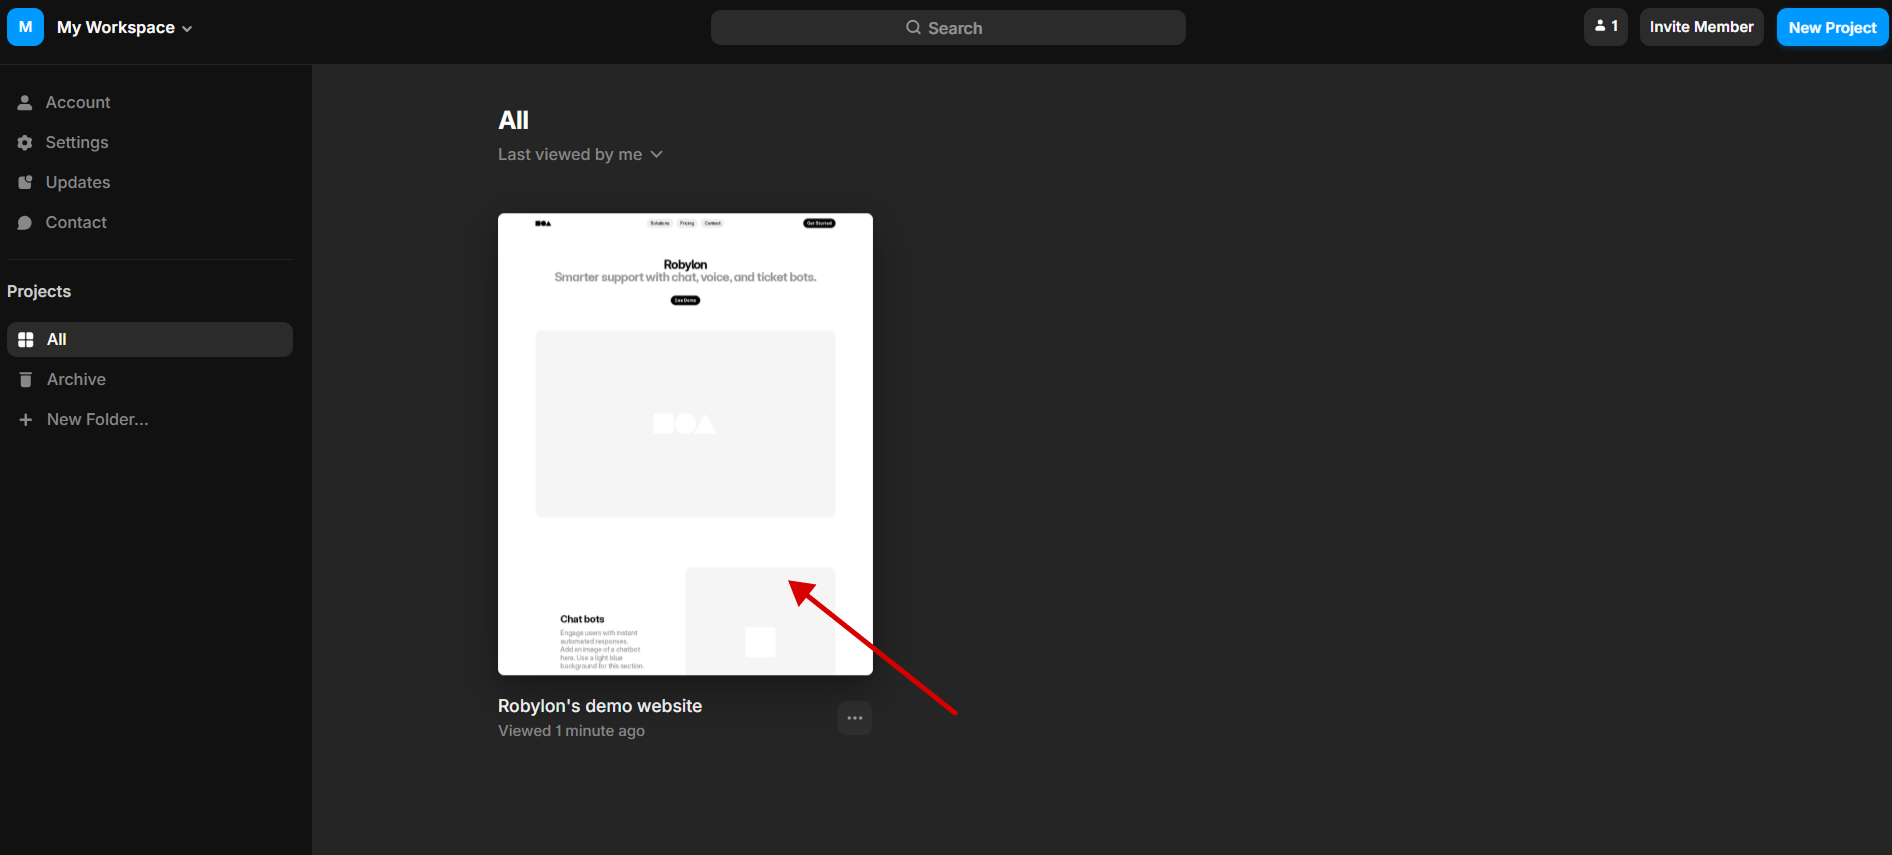
- To embed the code in Framer, log in to your Framer account and go to your dashboard.
-
Click on the website and select the page on that website you want to add the Robylon chatbot to.
-
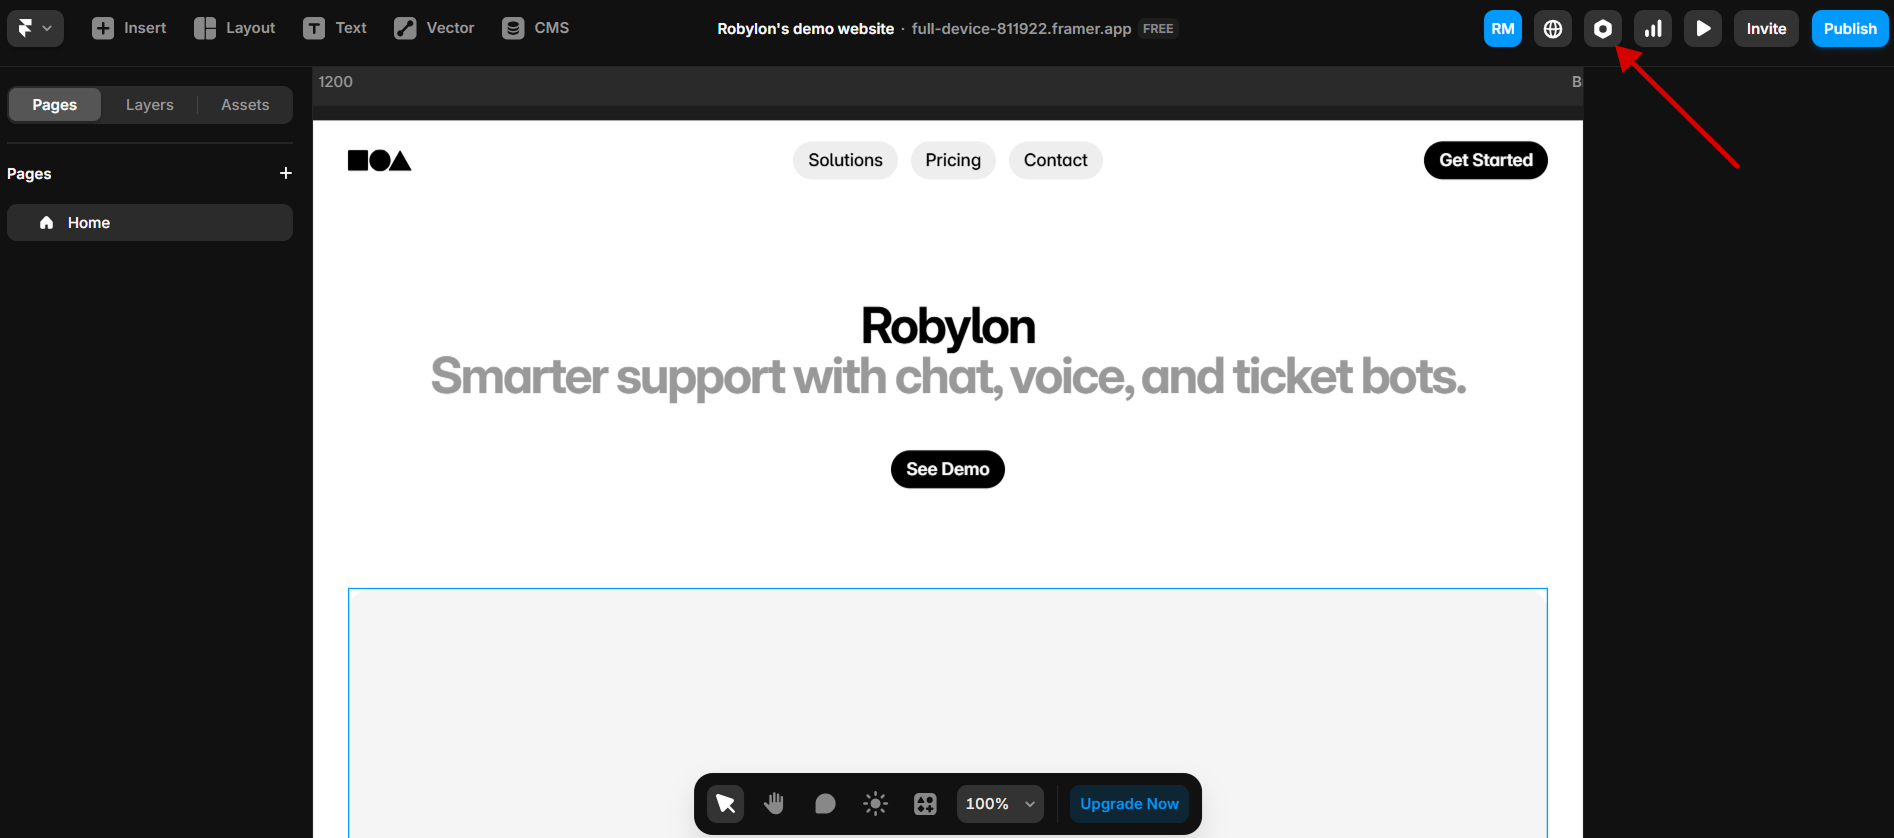
Now, click on the settings icon in the top right part of your Framer website dashboard.
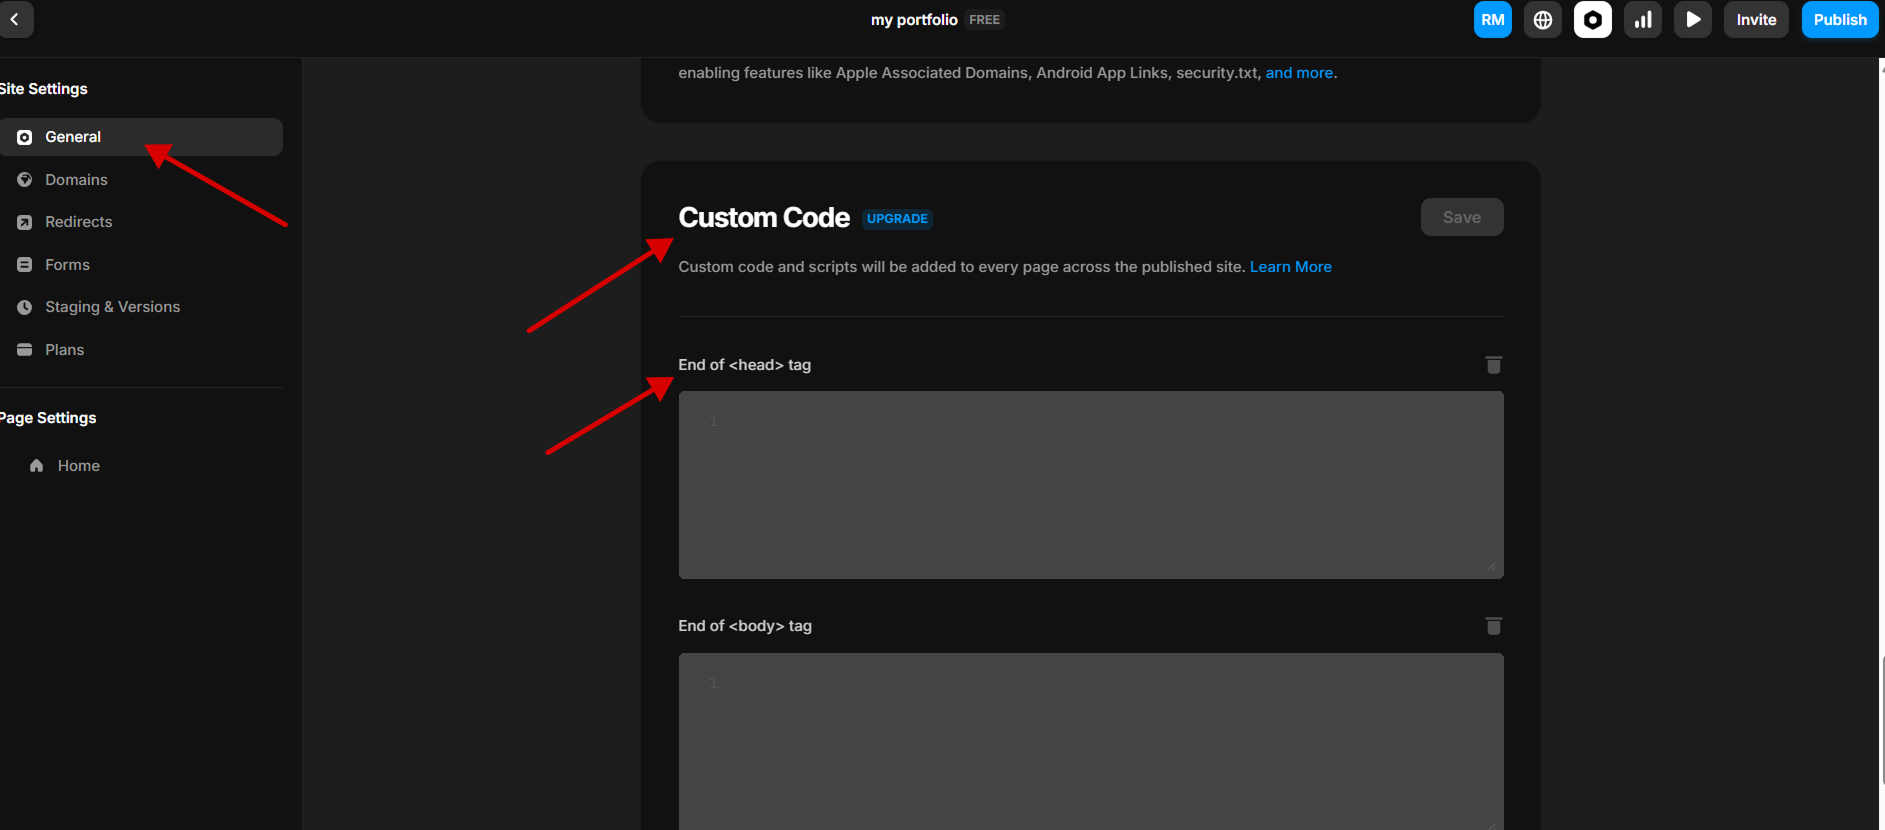
- Click on the ‘General’ option in the sidebar of the Settings page. Scroll down to the ‘Custom Code’ section in settings.
-
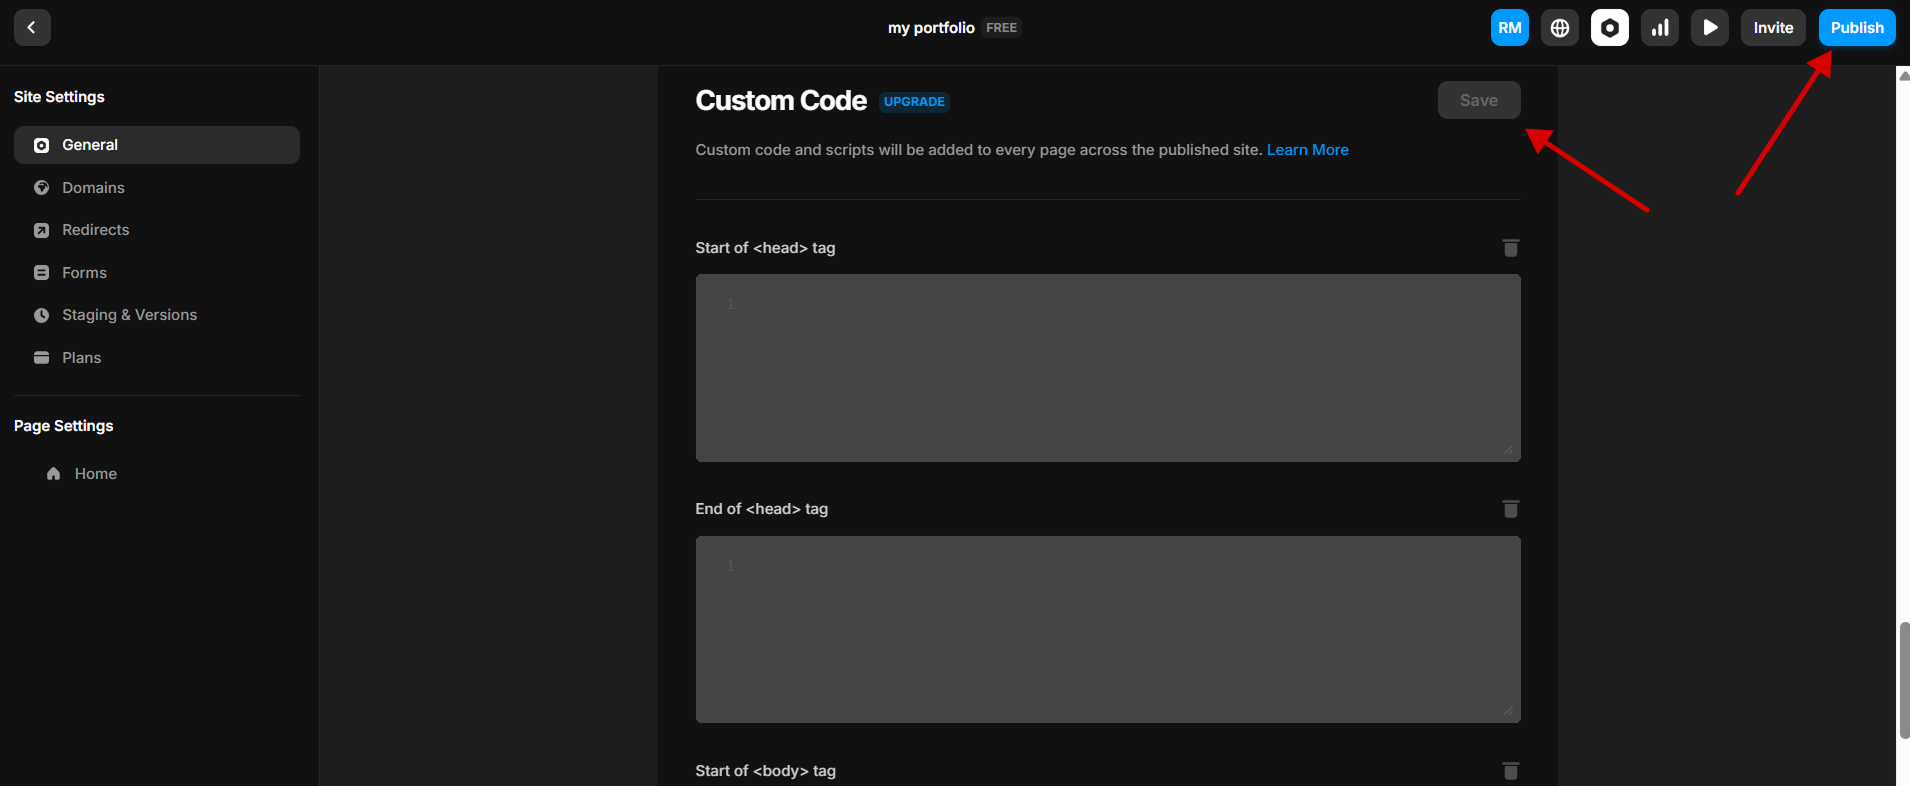
Now paste the copied code of Robylon bot here at the End of the head tag.
-
Then save the settings and publish your Framer website to see the chat icon on that page.
- Test the chatbot to see if it works fine, then you can push it for production.