Step 1: Generate and Copy Your Robylon Chatbot Embed Code.
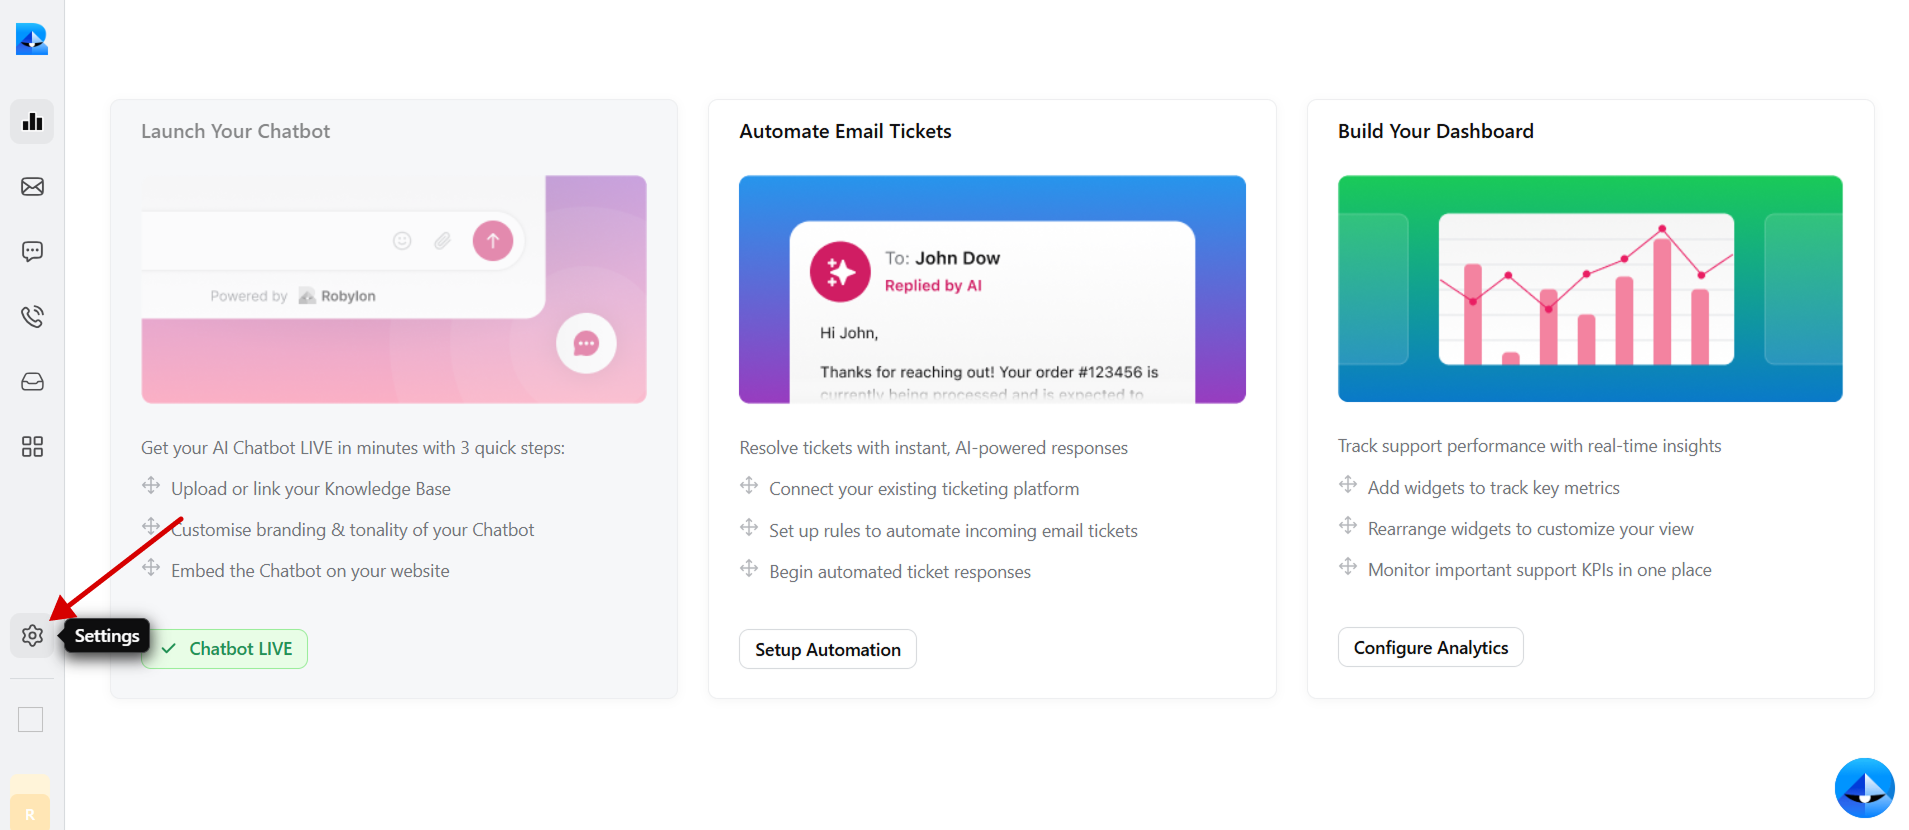
- Log in to your Robylon account and open the dashboard.
-
In the left panel, click on the settings button to navigate to the settings page.
-
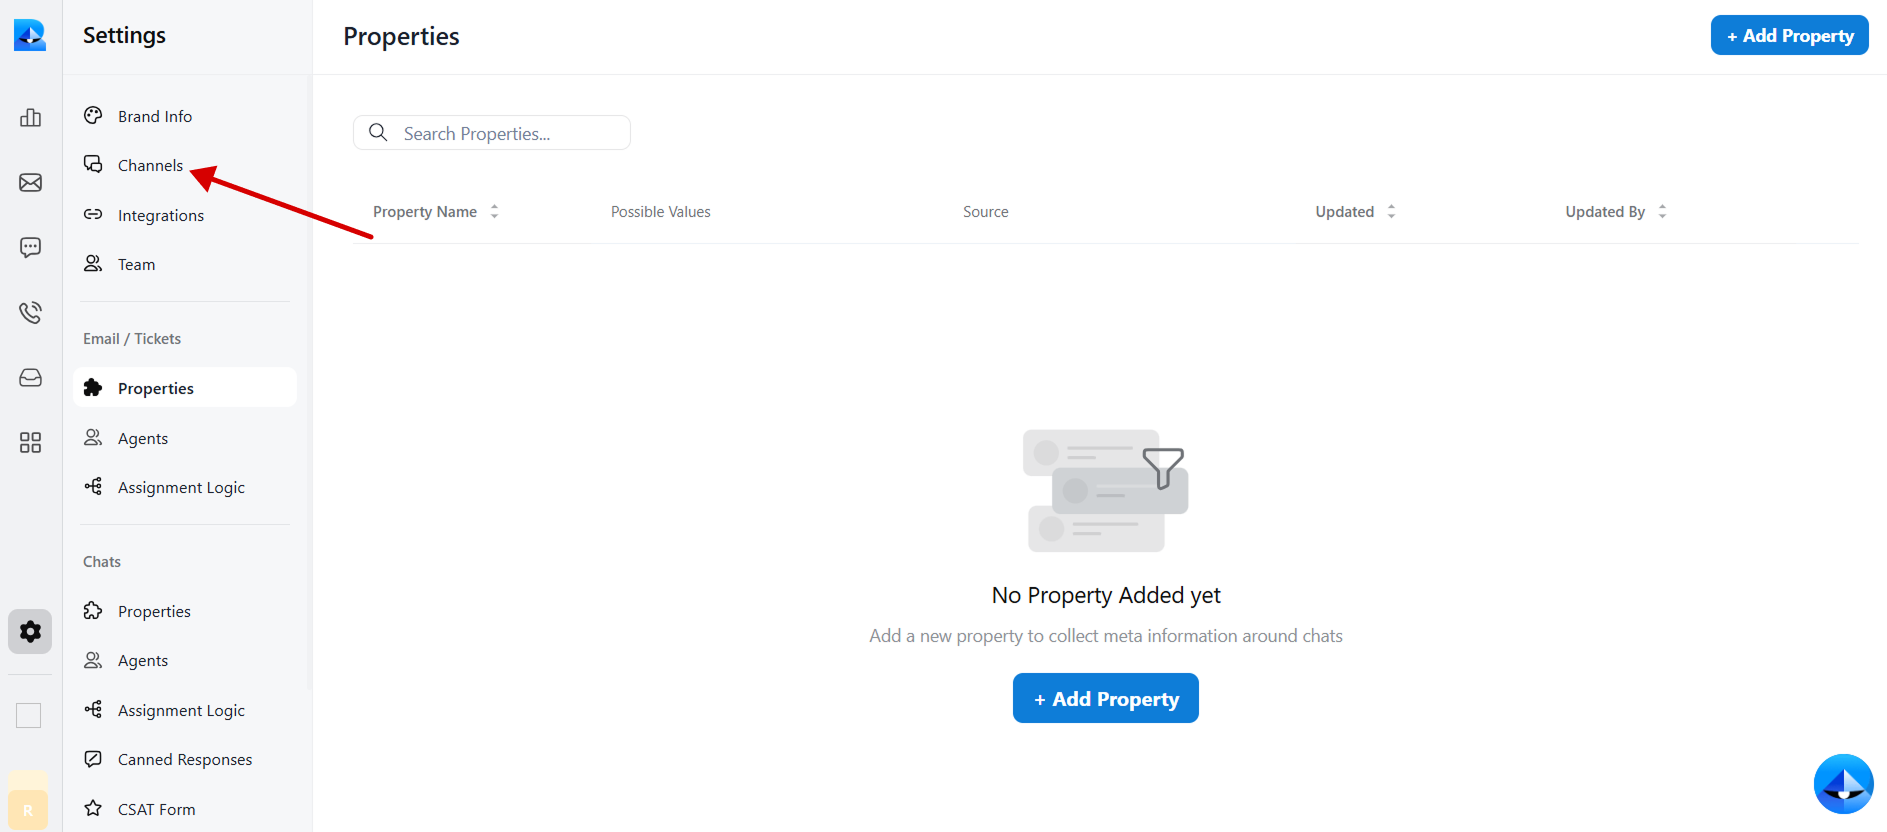
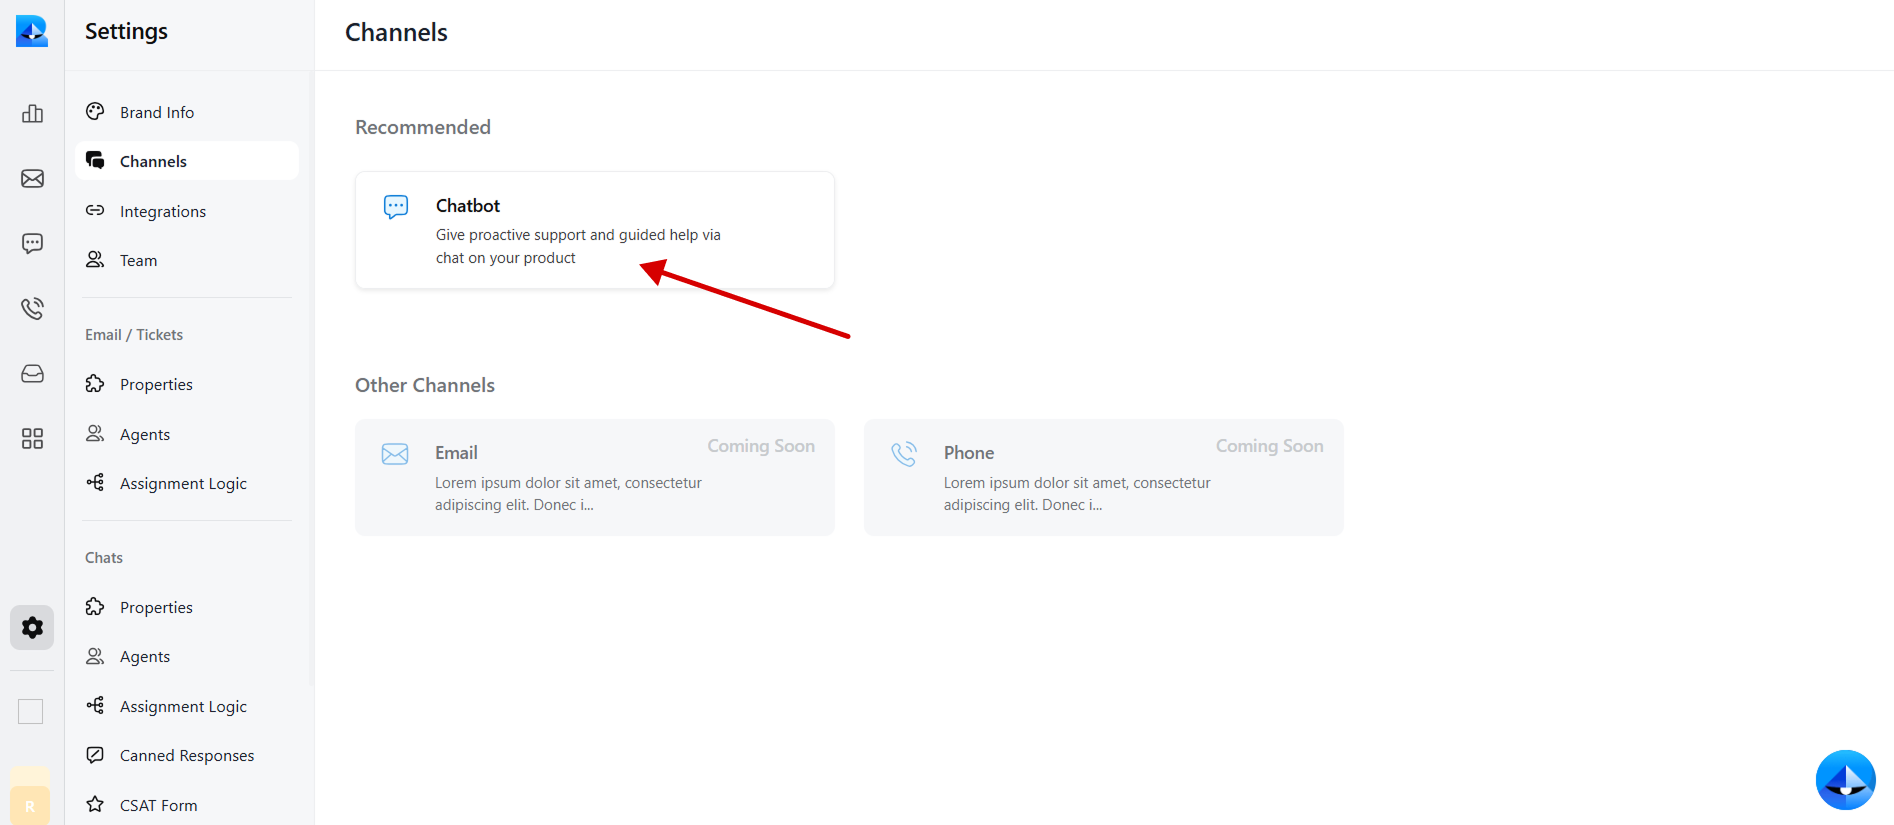
Within the settings tab, select Channels.
-
Click on the Chatbot widget to access the chatbot details.
-
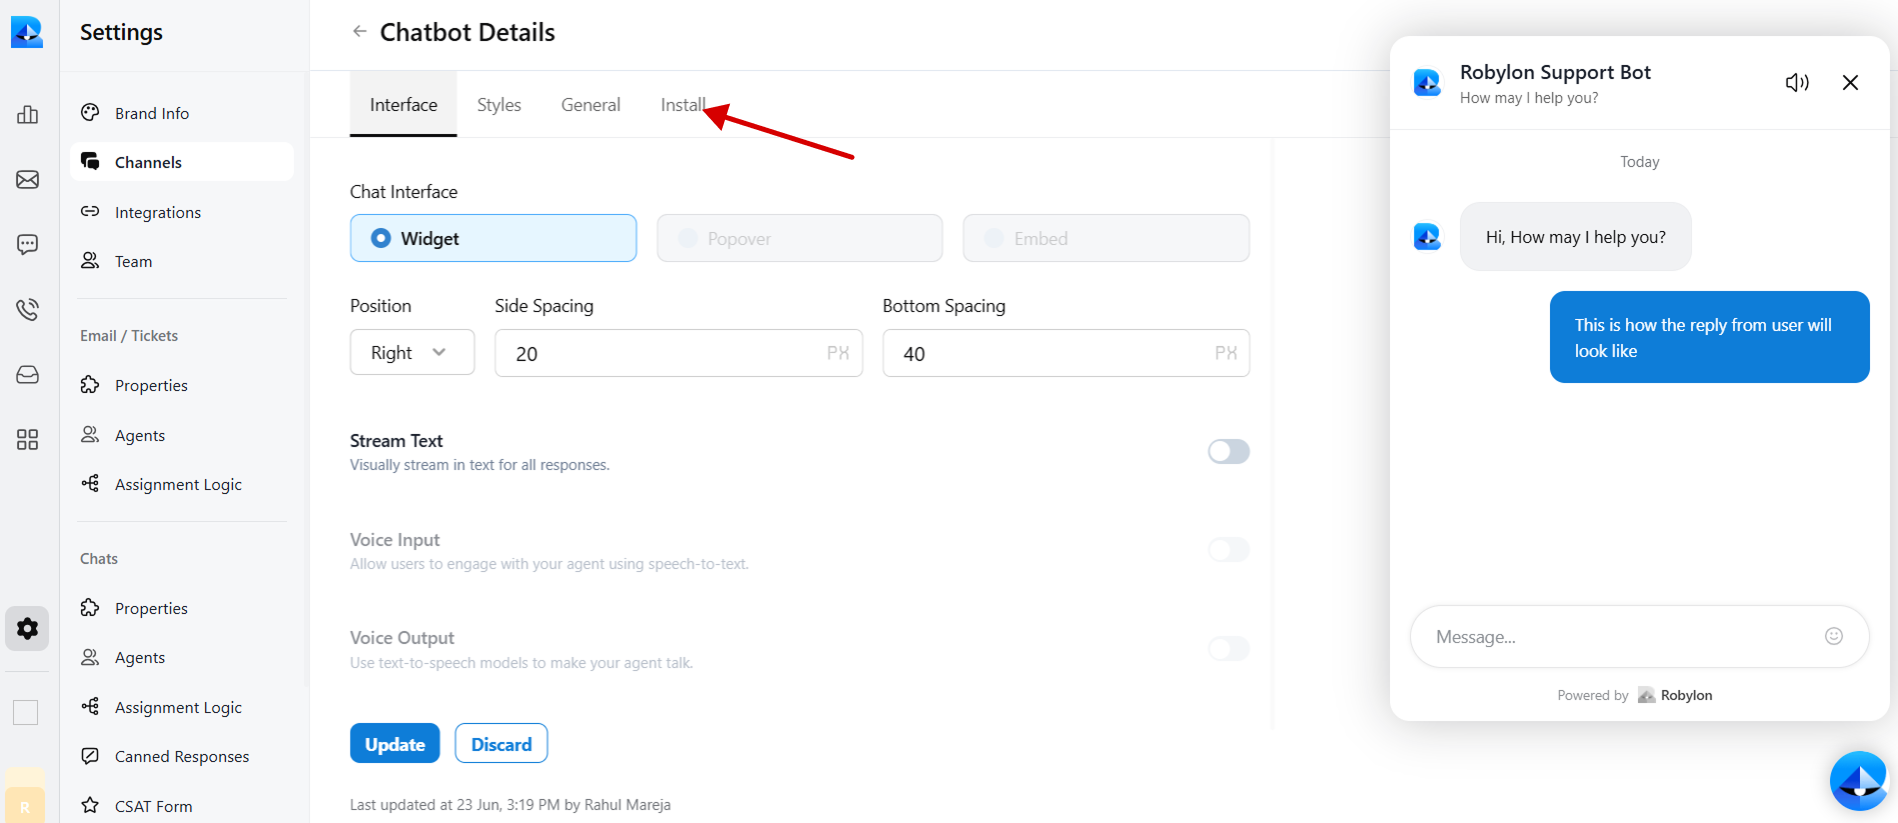
Navigate to the Install tab within the chatbot details page.
-
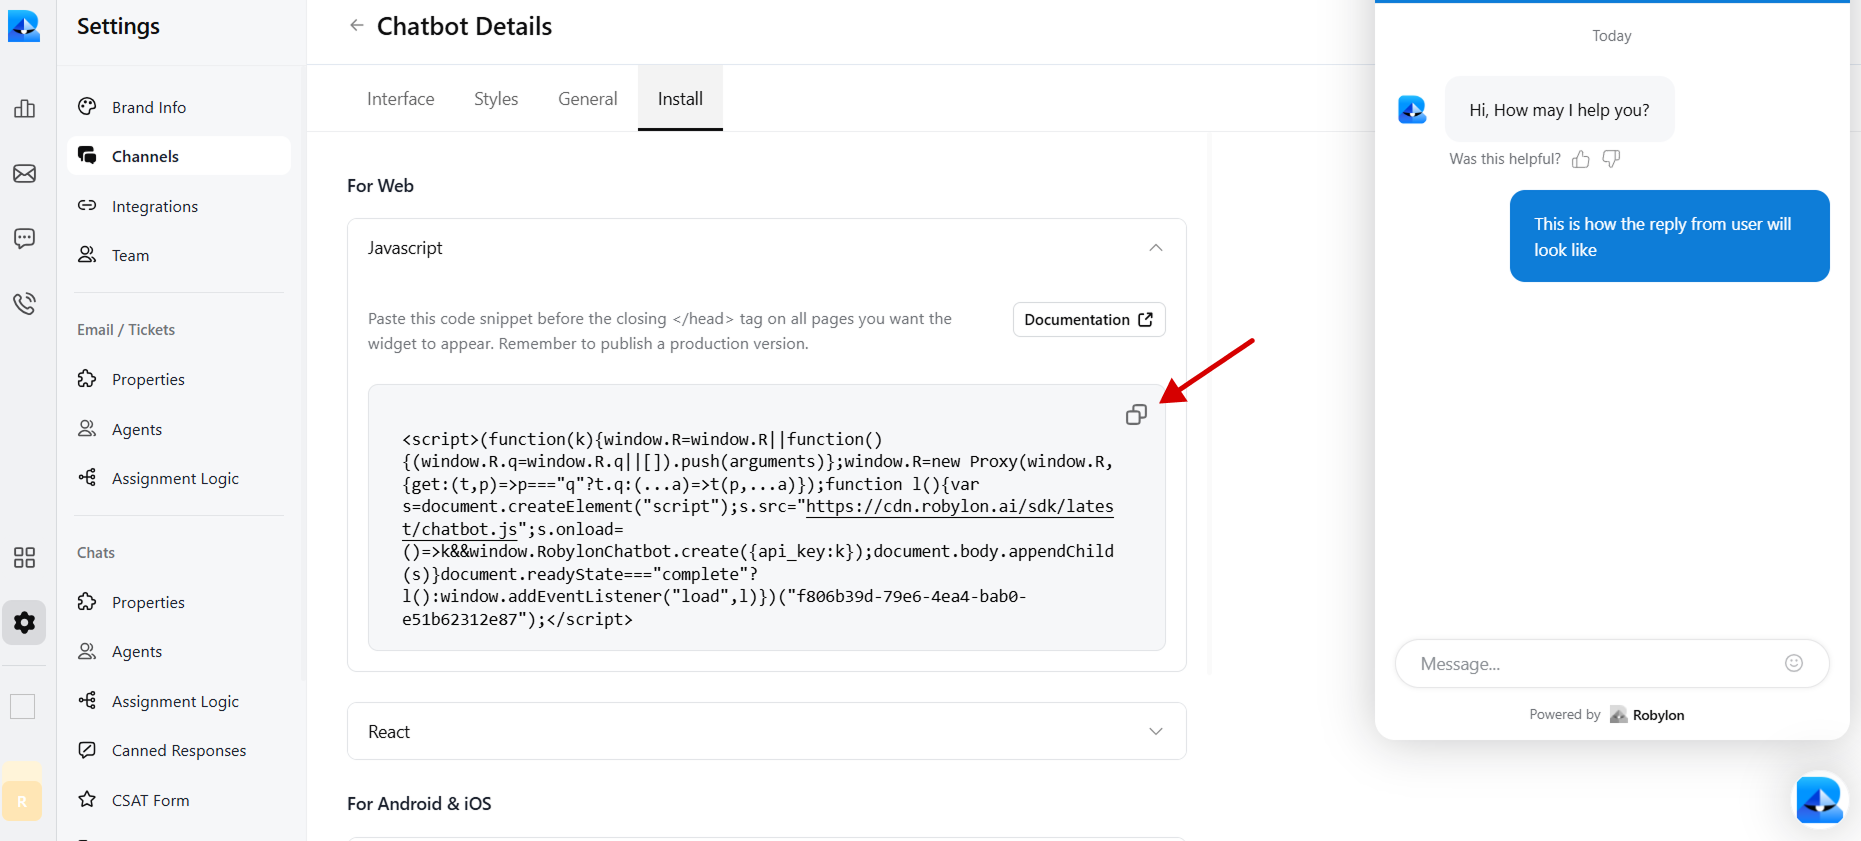
Select JavaScript to embed code in WordPress.

-
Copy the provided chatbot embed code.
Step 2: Install the WPCode plugin on your WordPress Website to embed Robylon’s bot code
-
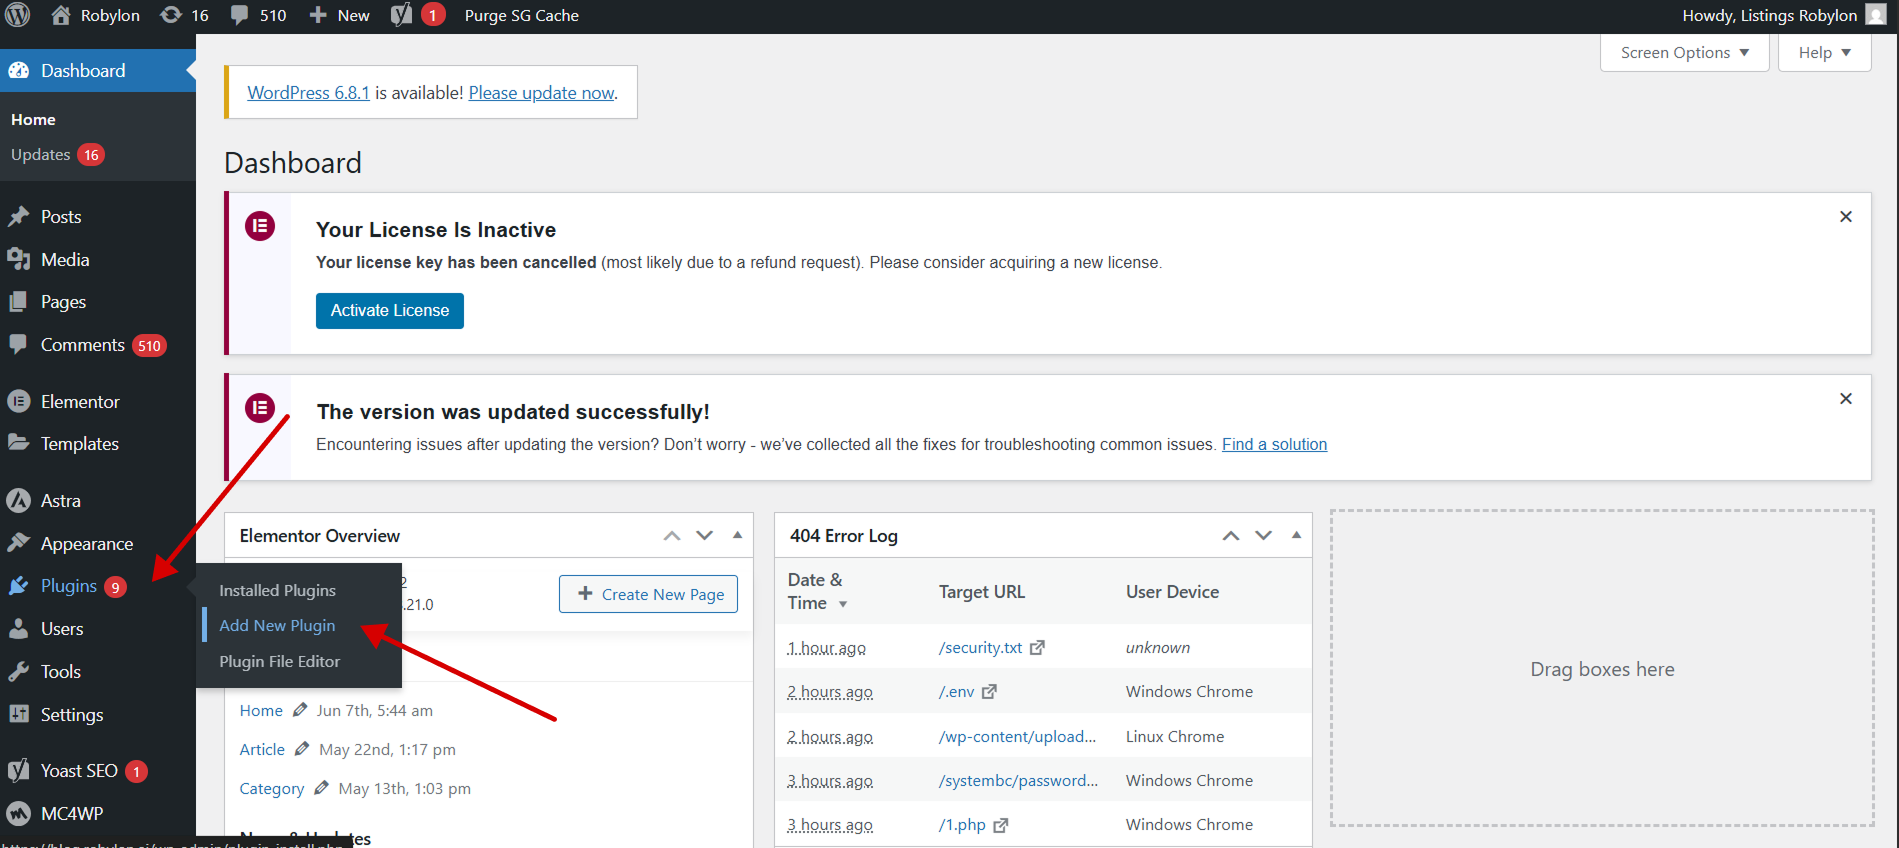
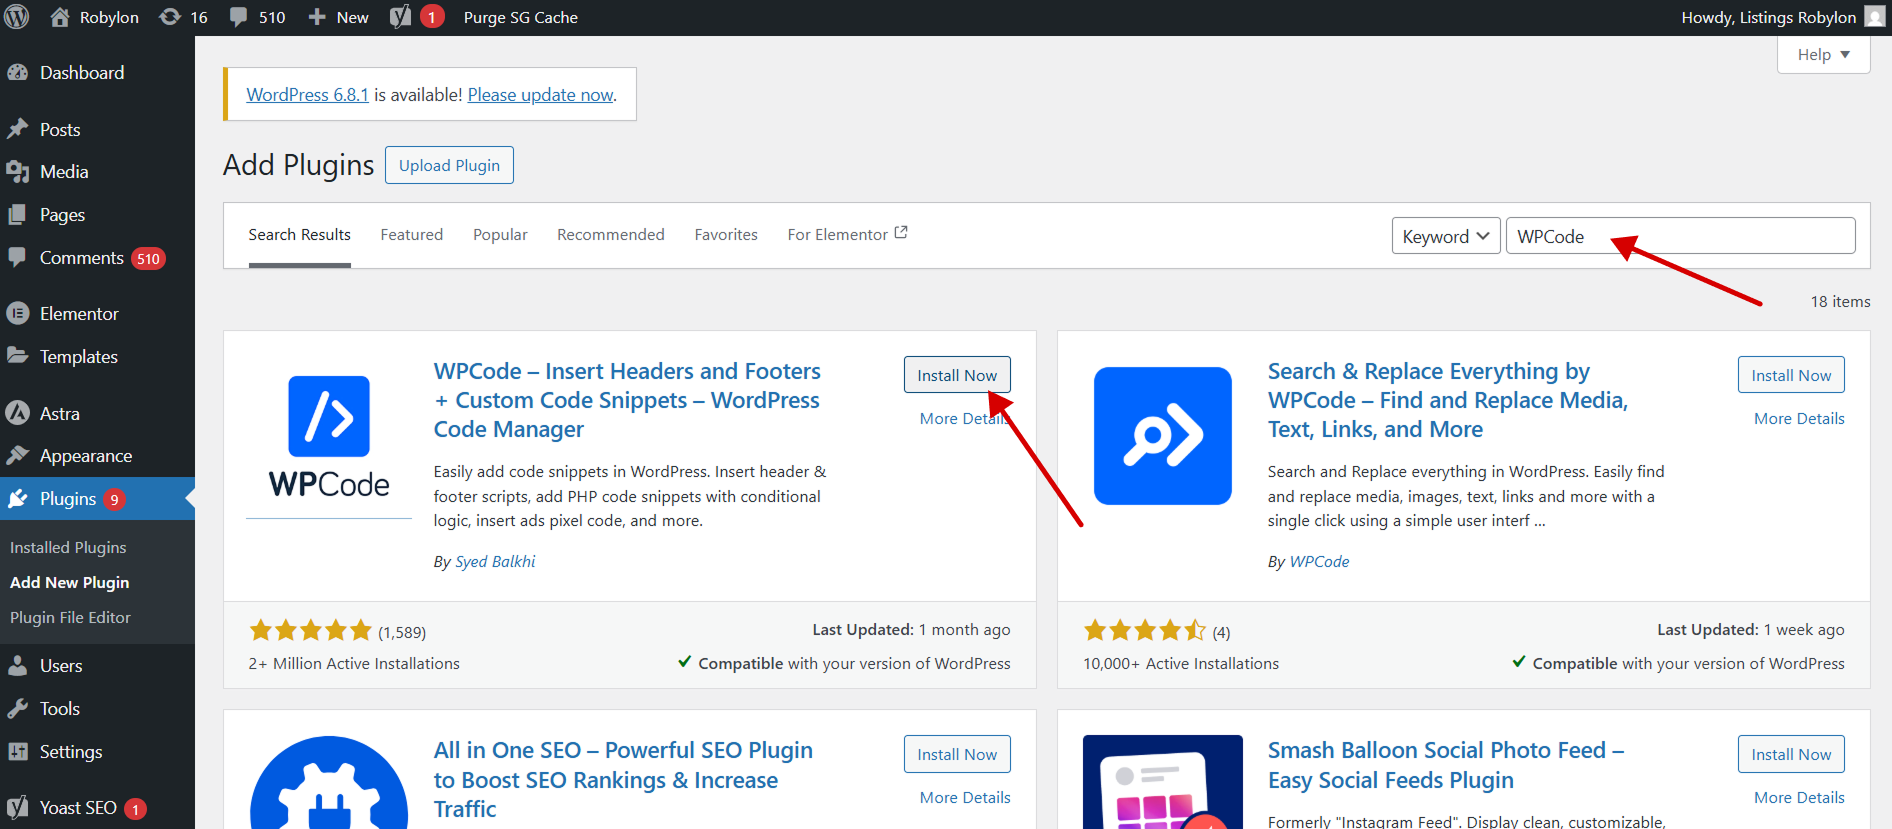
Login to your WordPress dashboard, and go to the plugin button in the admin bar on the left side, and then click on the ‘Add New Plugin’.
-
Then search for the ‘WPCode’ plugin and install it to embed custom code.
-
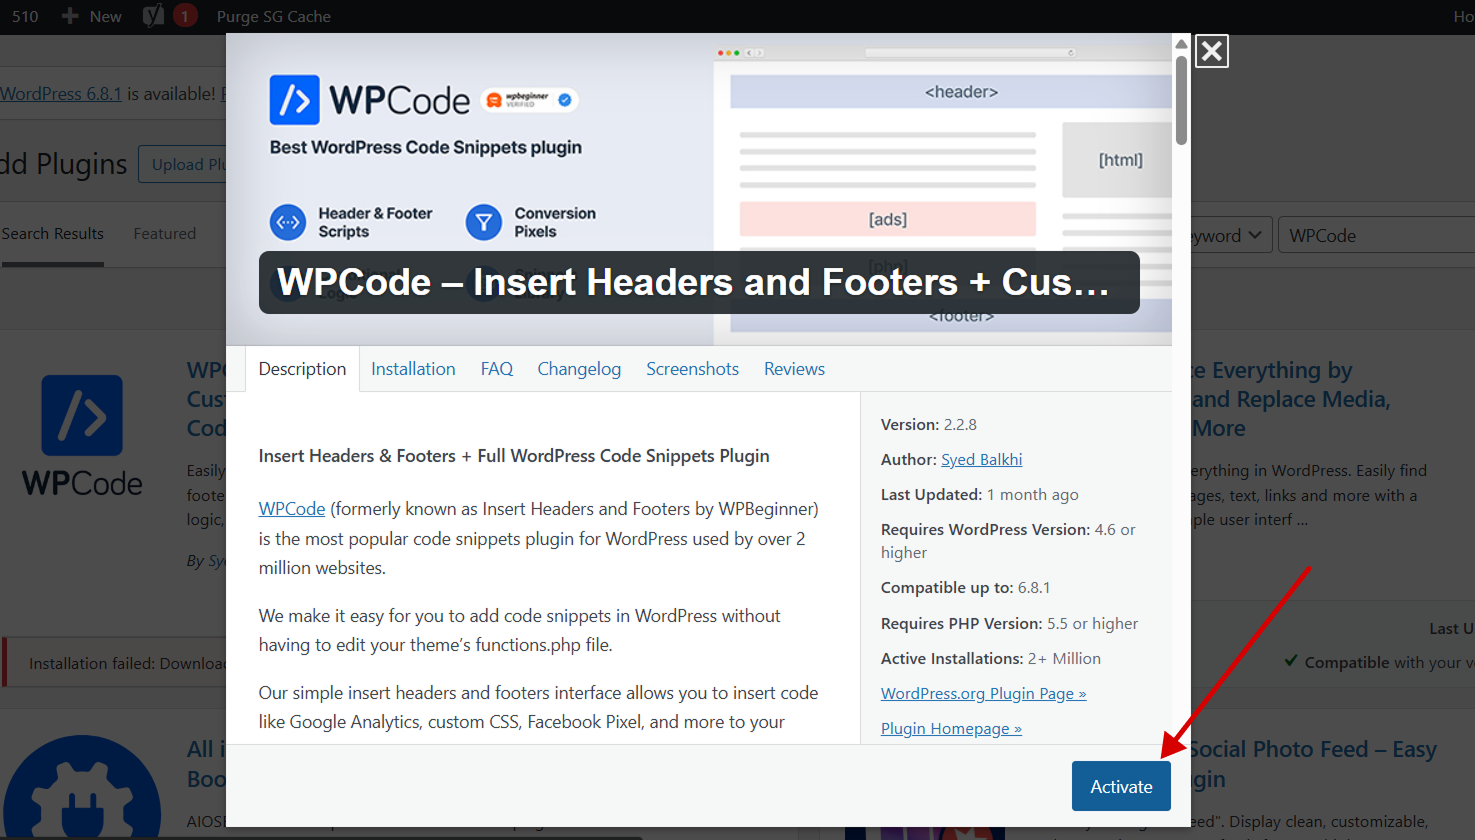
Click on the ‘Activate’ button in the plugin. Upon activation, the plugin will be added to the ‘Installed Plugins’ page.
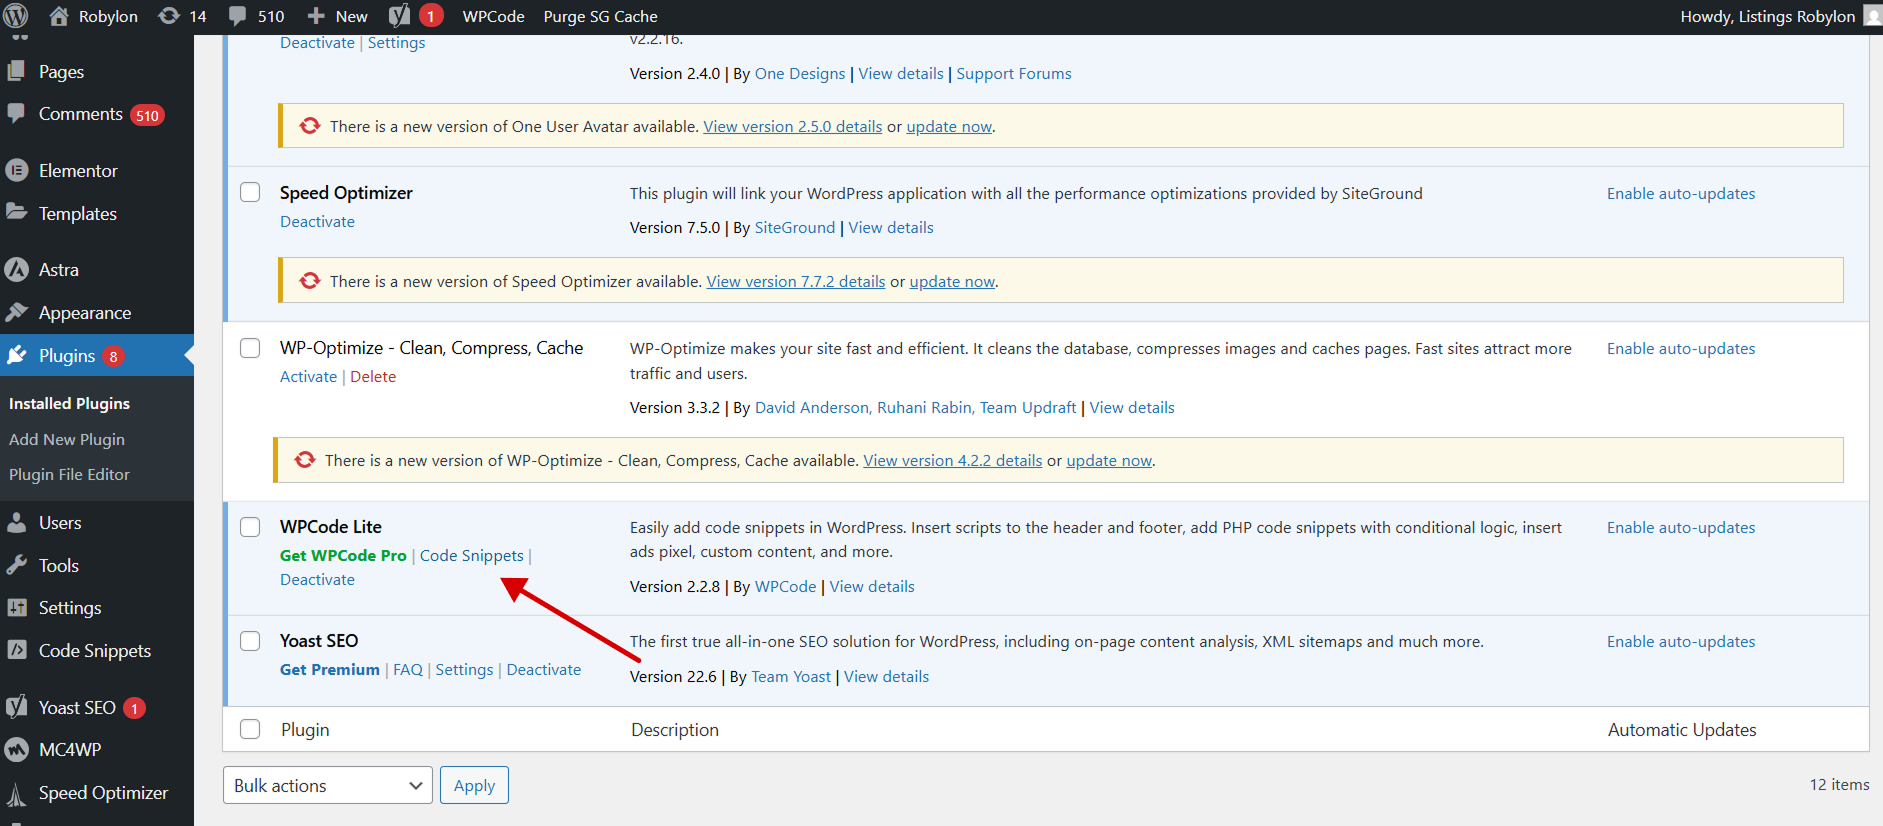
- Click on the ‘Installed Plugins’ button in the WordPress admin bar to go to the plugin page.
Step 3: Embed the code in WordPress to Display Your Chatbot Widget
-
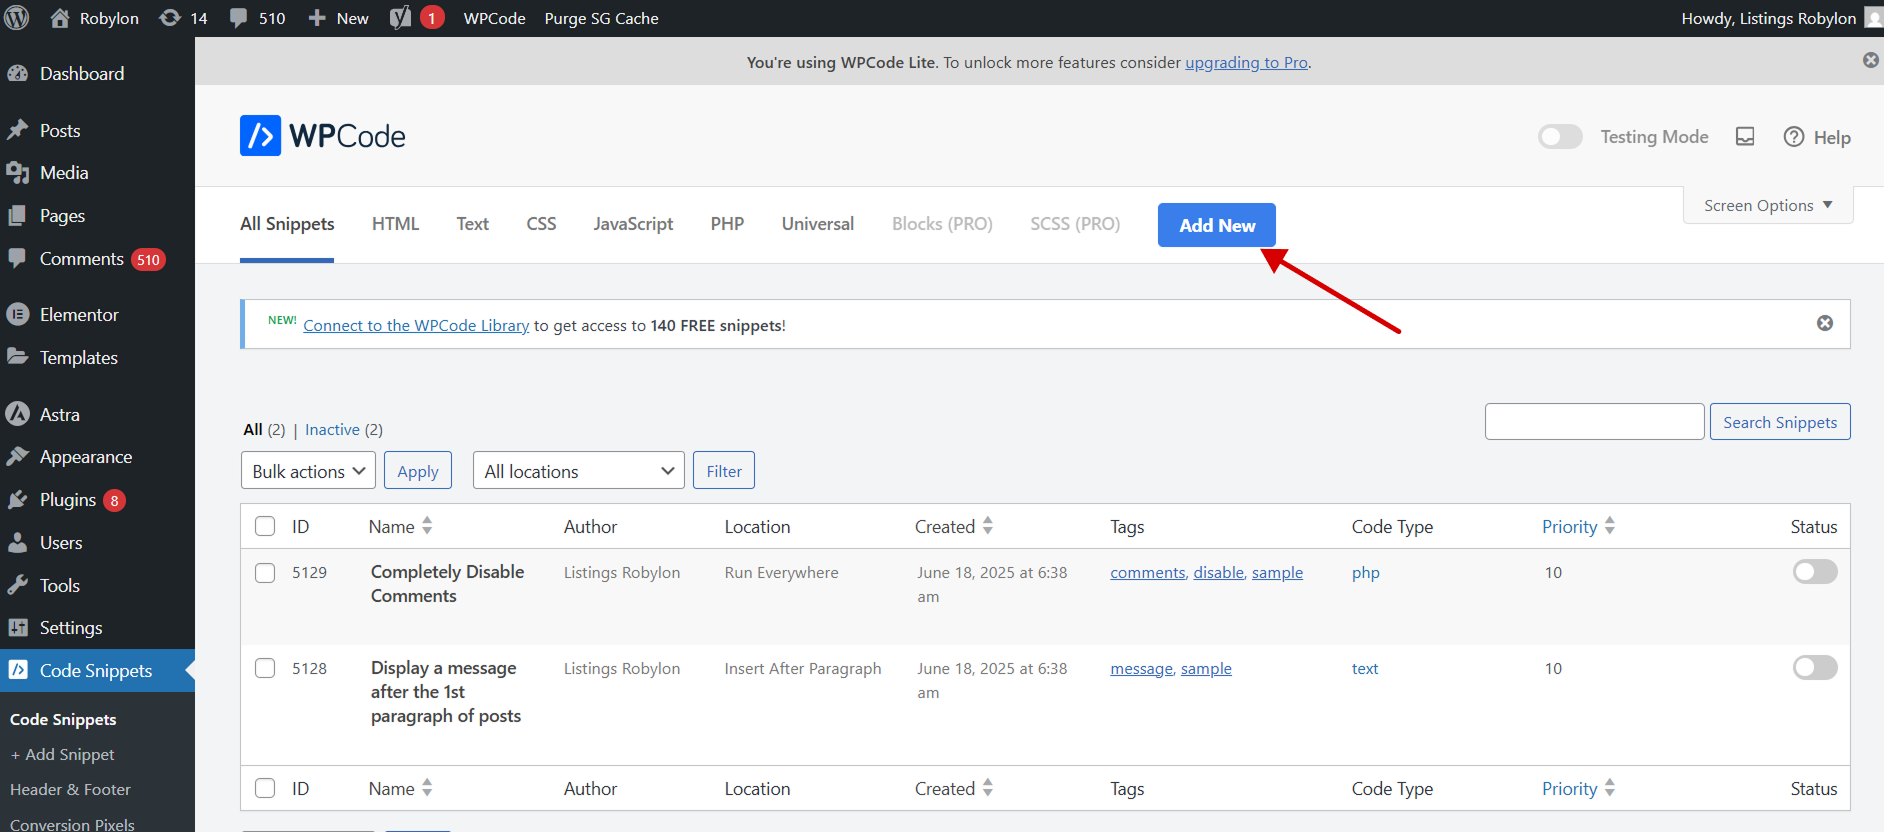
Click on the ‘Code Snippets’ labeled menu item in your WordPress admin bar, and it will open the ‘All Snippets’ page.
-
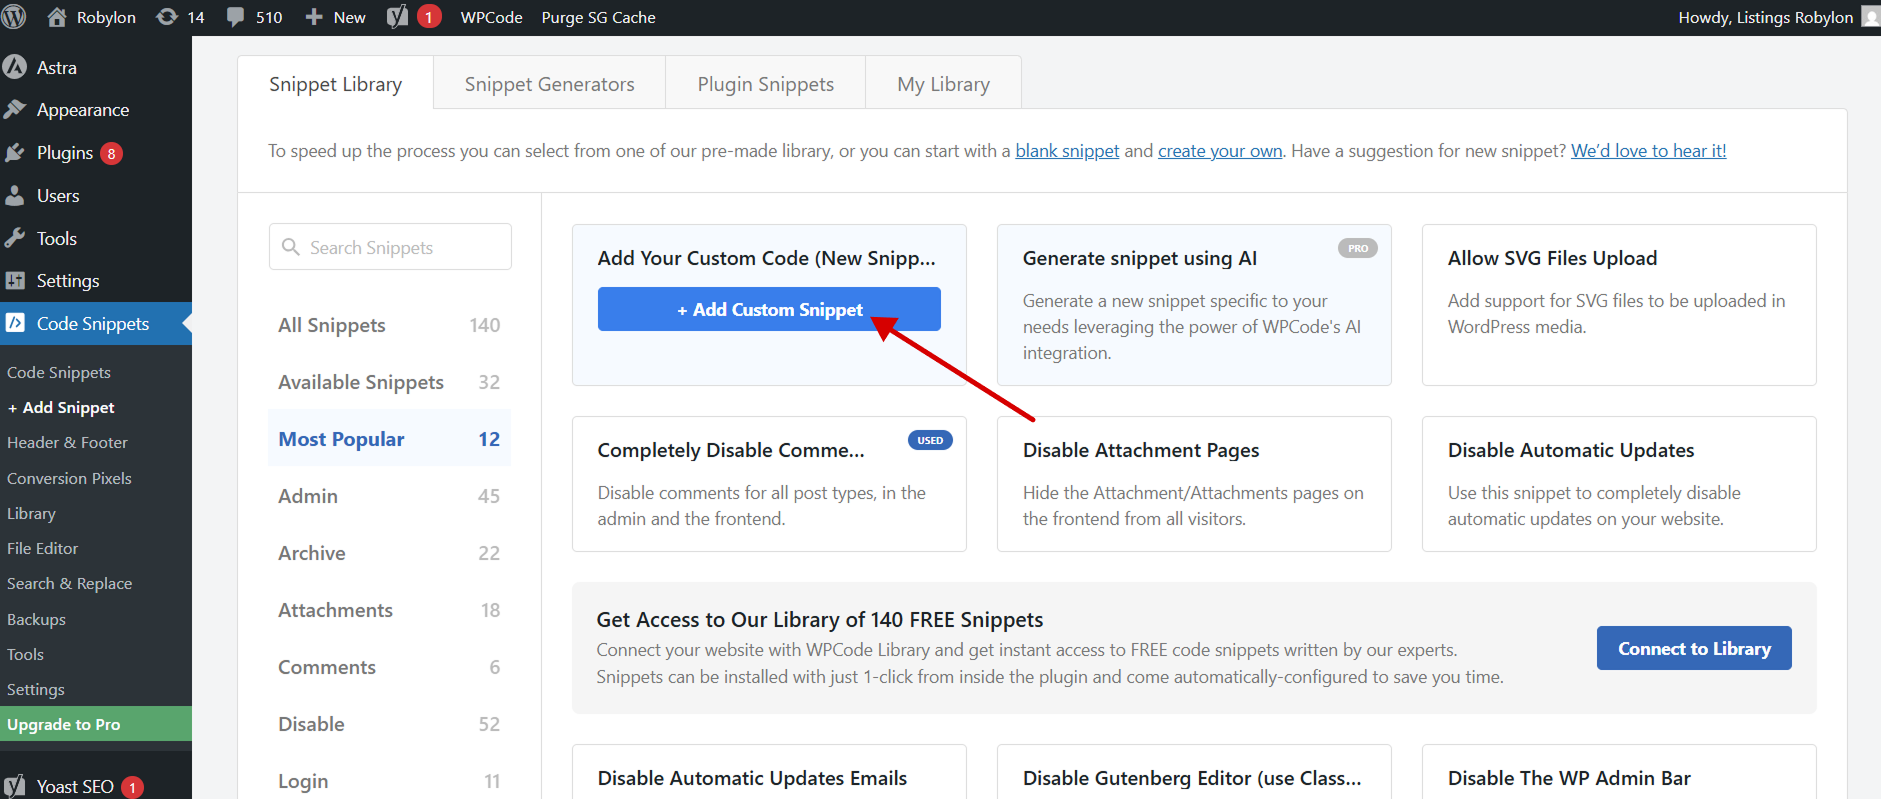
Then, click on the ‘Add New’ button, and this will bring you to the add snippet page.
-
Click on the ‘+Add Custom Snippet’ button.
-
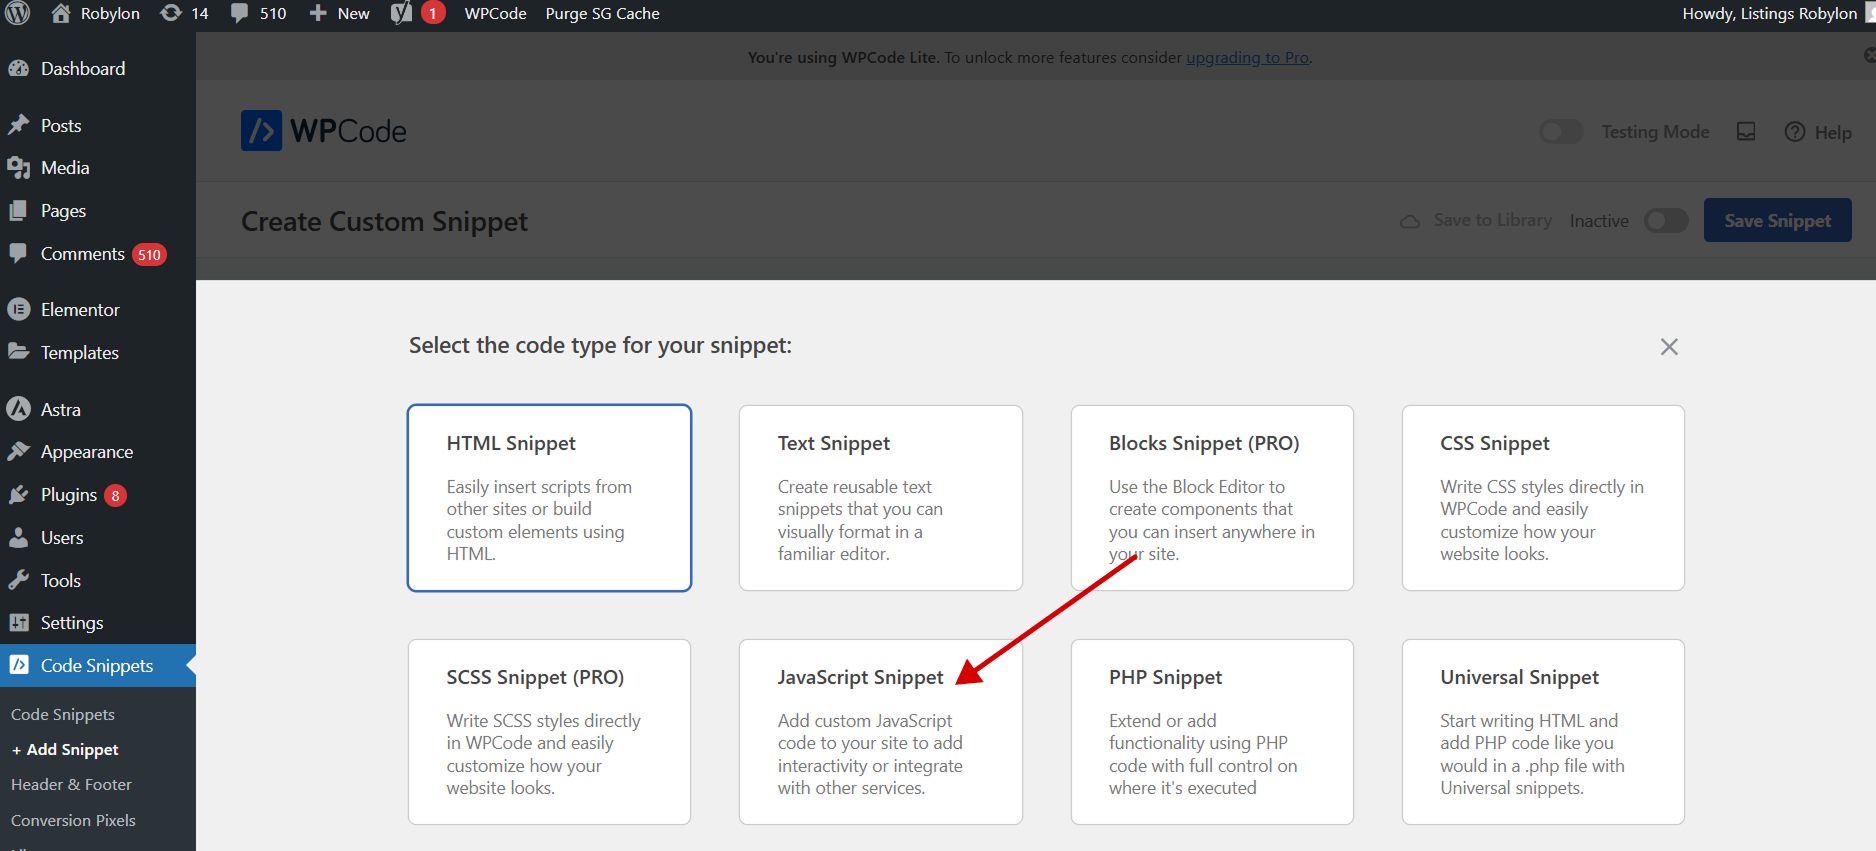
Then, choose the code type from the list of options that appear on the screen, and click on JavaScript in our case.
-
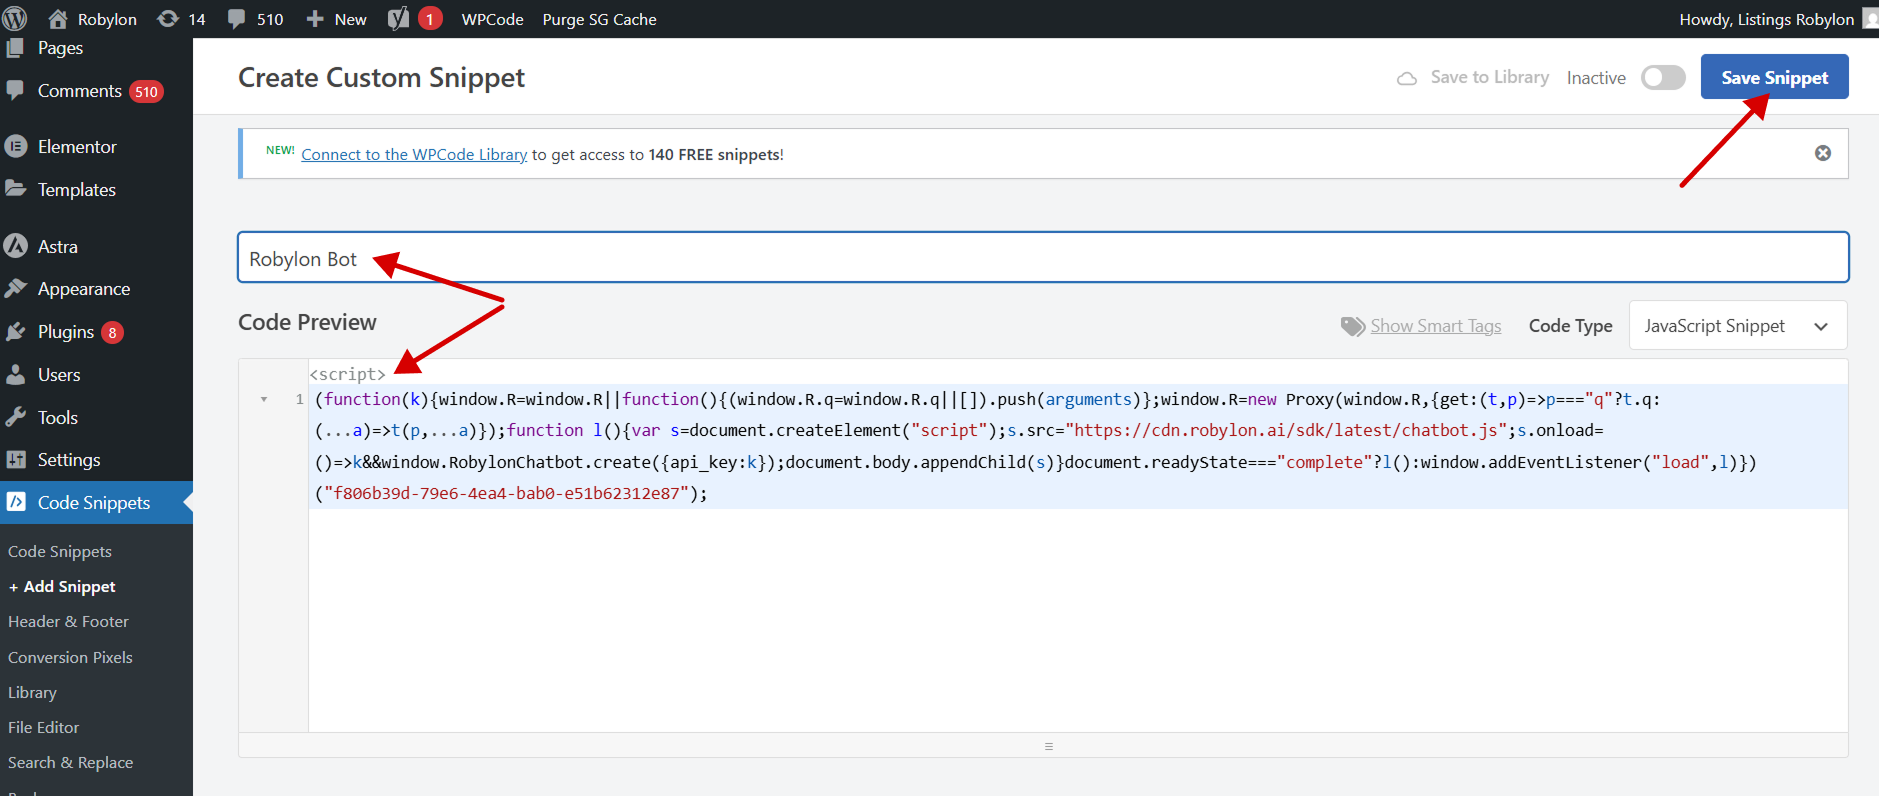
Now, enter a title for the custom code snippet and paste the copied code for the chatbot, and save the snippet.
-
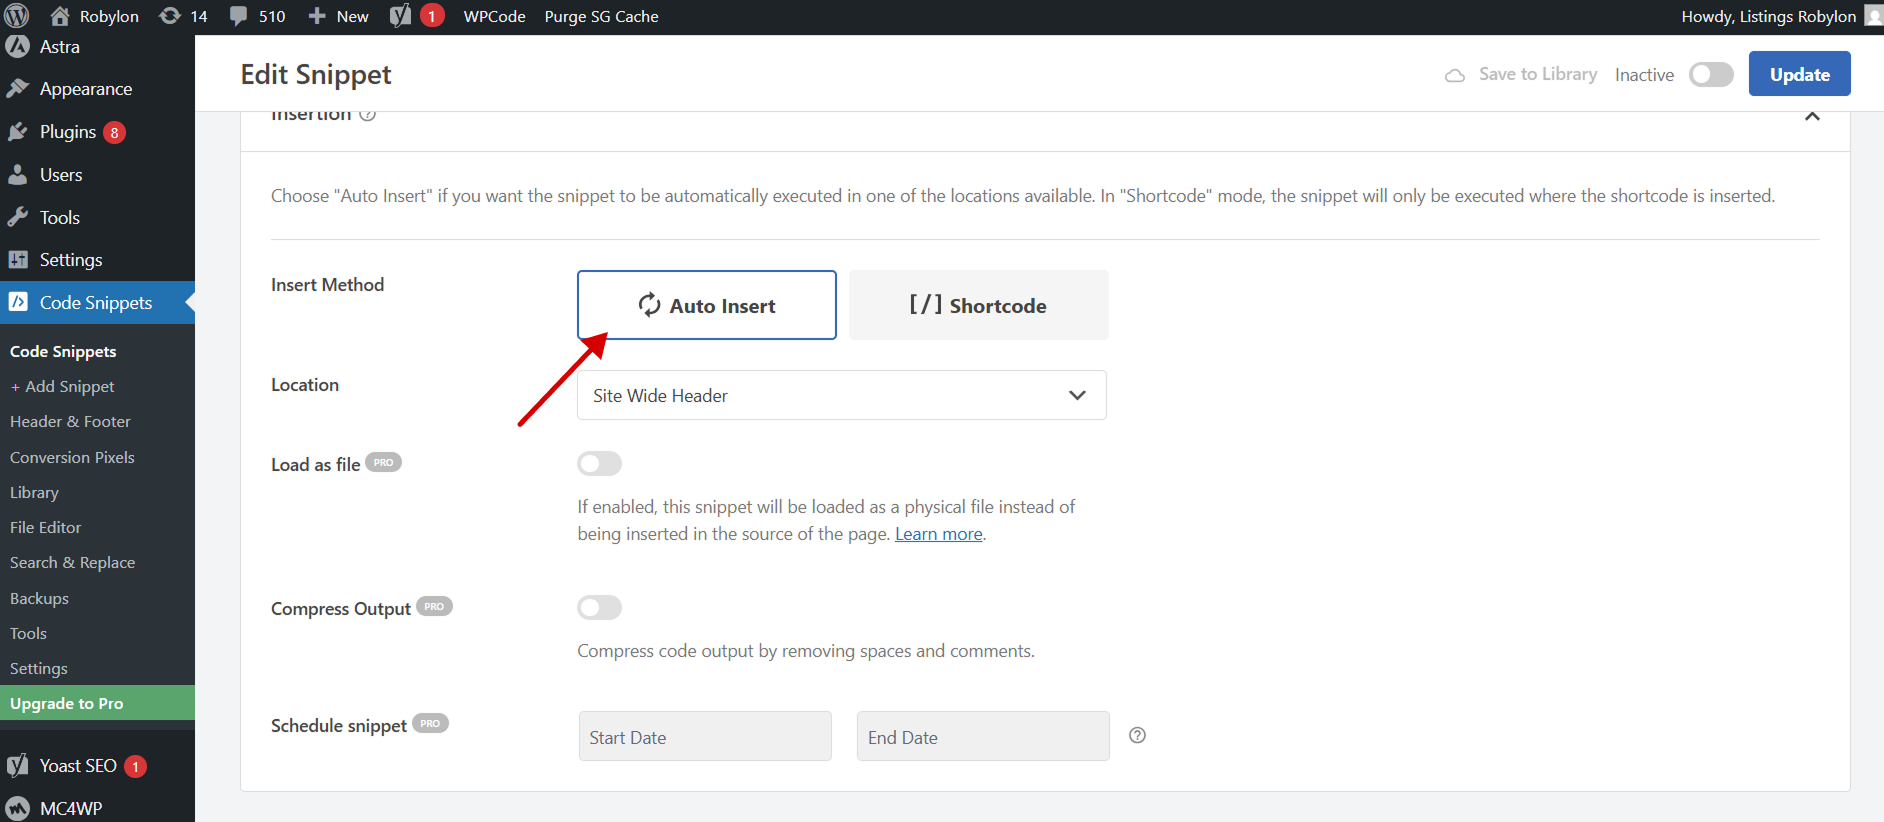
Then you will see 2 options to insert, you can select the ‘Auto Insert’ method, and the snippet will be automatically inserted and executed on your site.
-
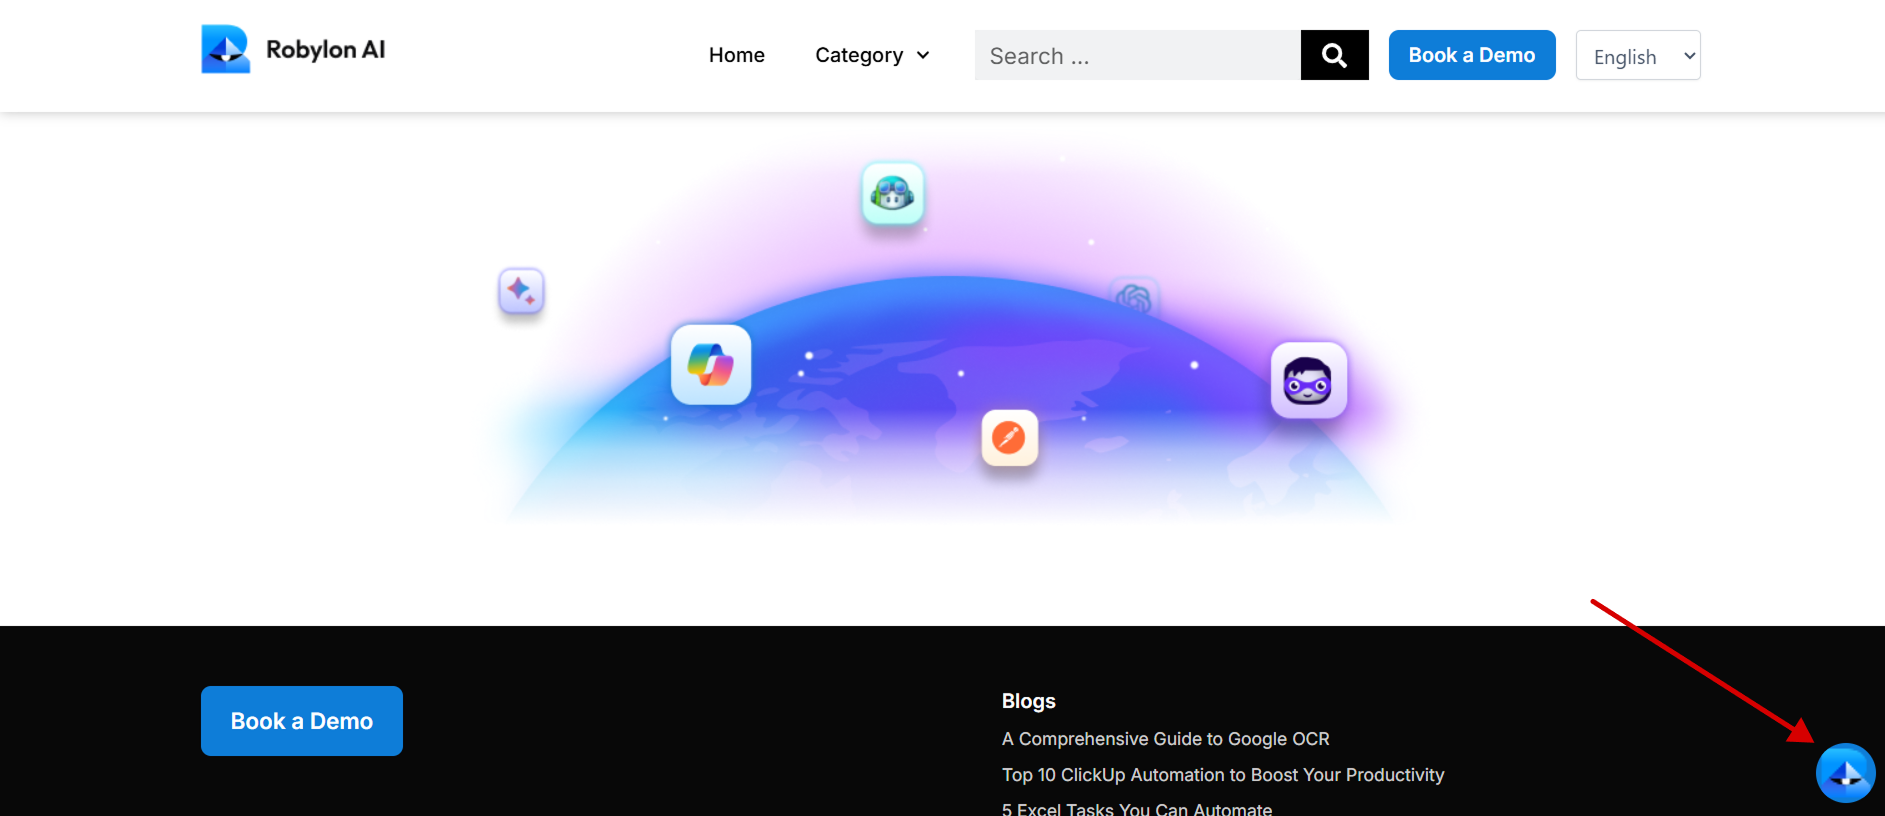
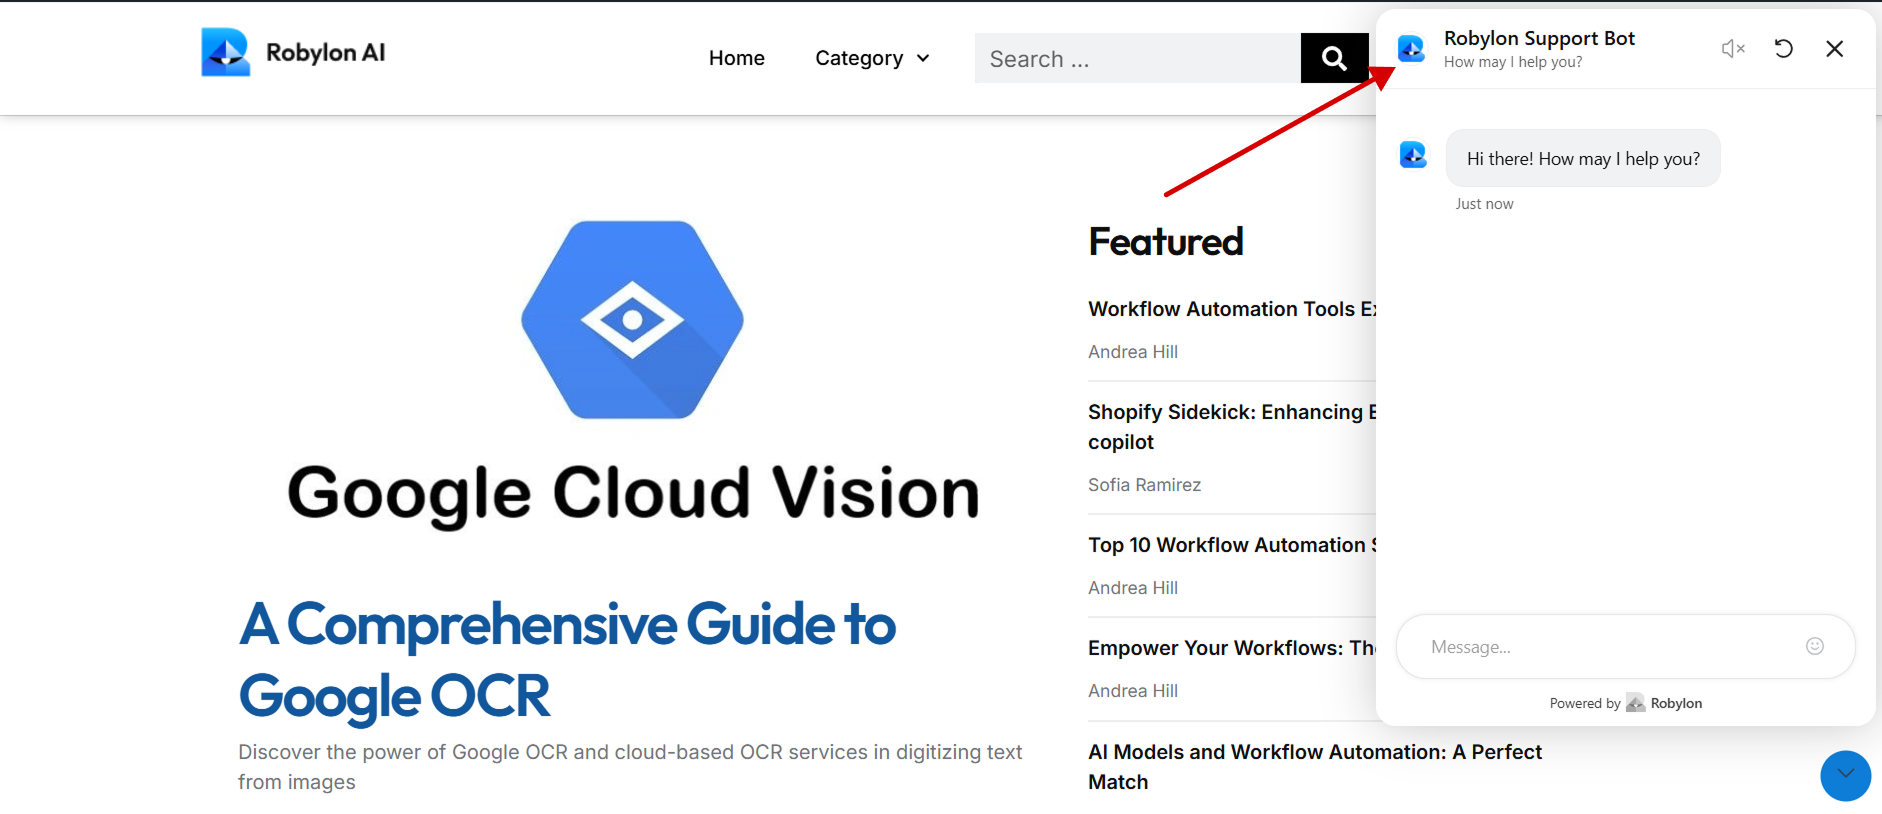
Now you can preview your site to see the embedded Robylon’s chatbot there.